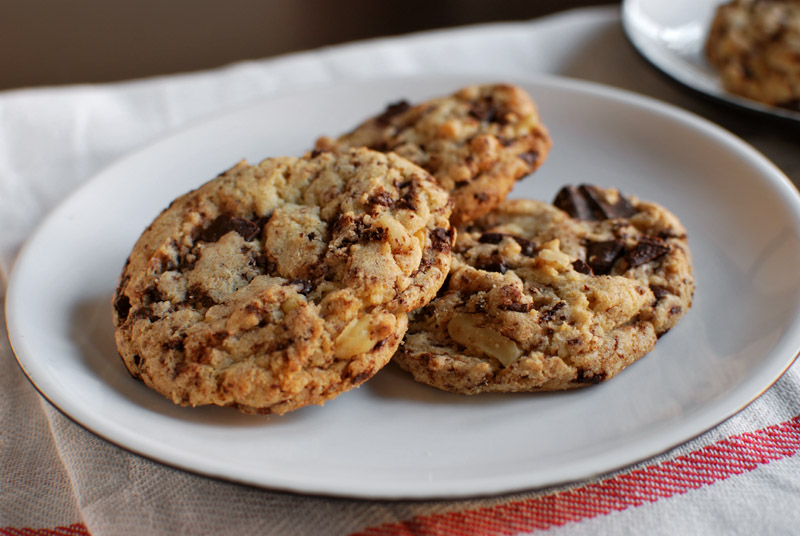
Here, we have a plate of cookies.
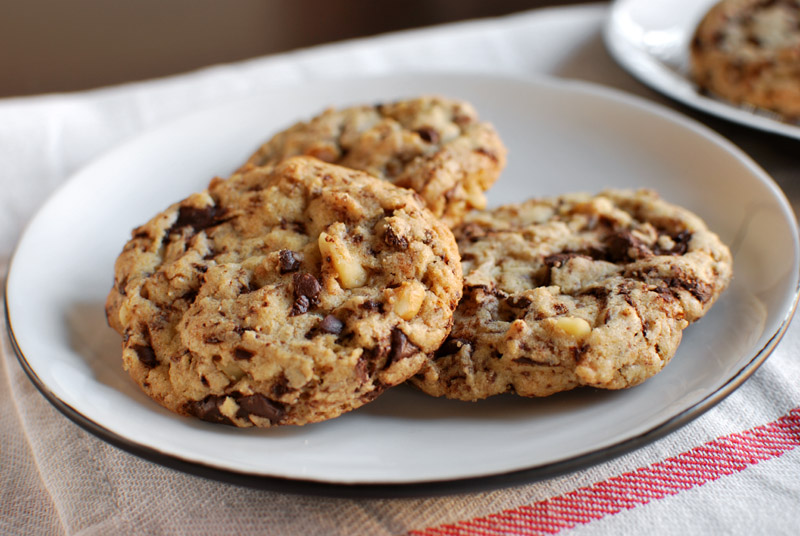
And here, we have a second plate of cookies.
Take a look at these two pictures. The cookies look remarkably similar, don’t they? Can you spot any major difference? Because I can’t.
To provide a little context, I had recently been struck with a severe longing for a chocolate chip cookie. The morning was progressing along nicely, my plans were underway and getting accomplished, when suddenly, I needed a cookie. This sort of craving happens to me rarely, but when it does, I might as well just give in immediately, because there will be no respite from its dogged pursuit.
From where I was sitting (in my pajamas, it’s important to add), the fastest way from “not having a cookie” to “having a cookie” was to make some myself. If there was no time for a shower, then there certainly was no time for butter to soften. Luckily, the fantastic editors of Cook’s Illustrated helped me out, with a recipe that called for melted butter instead. If there’s one thing that moves a cookie recipe to the top of my “to make” pile, it’s not requiring softened butter. Or overnight chilling. Or, really, anything that puts more than an hour between me and a cookie.
But to go back to the photographs: those two batches were made from the same dough, but shaped differently. One batch (the top picture) was shaped by dropping the dough onto the sheet pan, using a small portion scoop (a.k.a. an ice cream scoop). As is, you know, standard for such cookies.
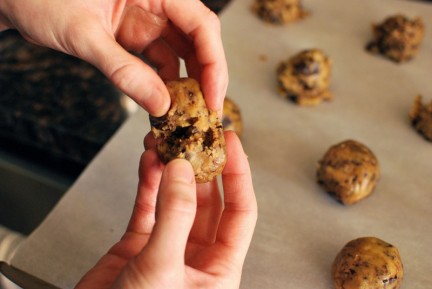
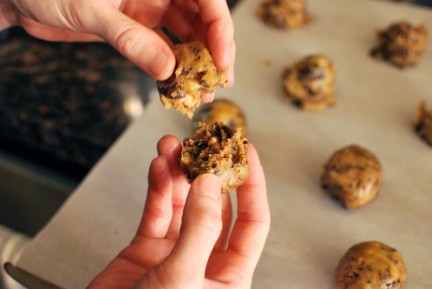
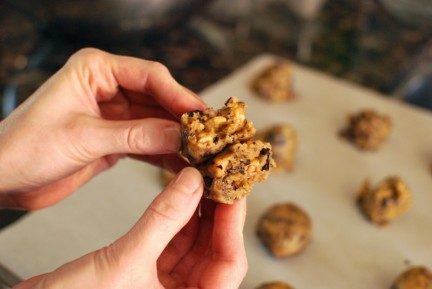
The other batch was shaped using a slightly convoluted method suggested by the original recipe, one that promised a picture-perfect craggly top. It involves rolling the dough into a ball, pulling it apart into two halves, then sticking the two halves together, with the rough edges facing up:
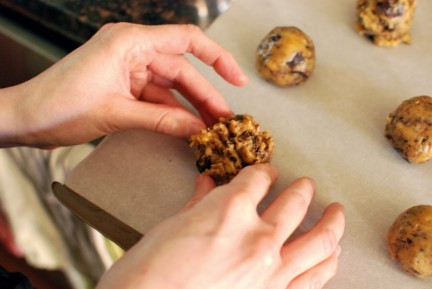
And man, when you don’t even want to take the time to let butter soften, you certainly don’t want to take the time to shape two or three dozen cookies by hand. Impatience got the better of me, and I quickly decided that scooping the dough would be just fine, thank you very much.
When I pulled them from the oven, the cookies shaped with the drop method looked nearly indistinguishable from the more painstakingly hand-shaped ones. But then, I used far less dough in each cookie than the original recipe directed (a full 1/4 cup! what!?), as I prefer cookies that are manageably small; so perhaps the size difference had much to do with the similar appearance of the two shaping methods.
If you like cookies that are as big as dinner plates, however, give this method a shot. It might just work. Me, I’ll stick with the drop method. You can have some of my warm cookies while you’re waiting for your bigger ones to finish baking.
As for the taste, these are some killer cookies. I’ve increased the salt slightly, and used the coarse kosher type; this brings an occasional burst of savory salt that is just fantastic, especially with the toasted walnuts. A pinch of cloves deepens the flavor, bringing a more robust note to the chocolate and matching the earthy walnuts beautifully, while a splash of Bourbon (that I couldn’t resist adding) adds a similarly rich, but smoky, note. These are, unfortunately, the sort of cookie that I cannot stop eating.
Chewy Chocolate Chip and Walnut Cookies
Adapted from The Best Recipe, by the Editors of Cook’s Illustrated
Makes about thirty 2 1/2 inch cookies
I like to use good-quality chopped chocolate in my chocolate chip cookies, rather than chocolate chips, because of the way its stays melty and slightly gooey for ages. Chocolate chips have additional ingredients that make them hold their shape, which also prevents them from melting smoothly and having that incomparable melting texture. That’s just me, though; use whatever you prefer, or have on hand. They’ll still be excellent.
9 1/2 ounces (2 cups plus 2 tablespoons) unbleached all-purpose flour
3/4 teaspoon coarse salt (such as kosher)
1/2 teaspoon baking soda
1/4 teaspoon ground cloves
12 tablespoons (1 1/2 sticks) unsalted butter, melted and cooled slightly
1 cup brown sugar, packed
1/2 cup granulated sugar
1 large egg plus 1 egg yolk
1 teaspoon vanilla extract
1 teaspoon Bourbon
7 1/2 ounces (about 1 1/4 cups) good quality chocolate, chopped
3 ounces (about 3/4 cup) walnuts, toasted, chopped, and cooled slightly
1. Preheat the oven to 325º F, and position racks in the upper and lower thirds of the oven. (While the oven heats, melt the butter. When the oven has heated, toast the walnuts while preparing the other ingredients.) Line two large baking sheets with parchment paper.
2. In a medium bowl, whisk together the flour, salt, baking soda, and cloves. Set aside.
3. In a large bowl, whisk together the butter and sugars until smooth. Add the egg, egg yolk, vanilla, and Bourbon. Whisk until smooth.
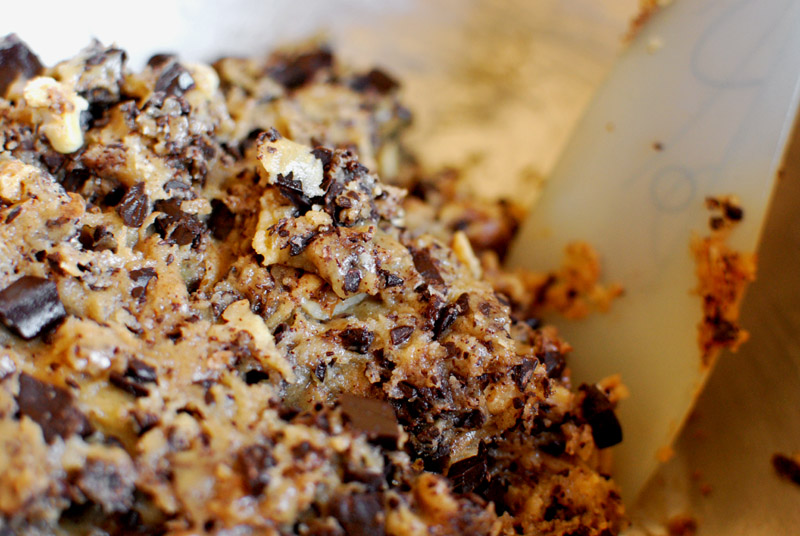
4. Add the dry ingredients to the wet ingredients, and gently mix together with a spatula until mostly combined (some large streaks of flour are okay here). Add the chopped chocolate and walnuts, and fold together until just incorporated, or until no more streaks of flour remain. Do not overmix.
5. Drop the dough by heaping tablespoons onto the prepared baking sheets, leaving about 2 inches between cookies. Bake at 325º F for 12 to 14 minutes, or until the edges are just set and lightly browned. Let cool on the sheets briefly, about 5 minutes, before removing to a rack to cool thoroughly. When cooled, store in an airtight container at room temperature.
