How To Get the Christmas Spirit

Oh, it’s one of my favorite times of year.  I’ll admit it, I just love Christmas.  The weather isn’t too bad yet, there’s sparkly lights everywhere, and the Chicago Transit Authority runs a holiday train with a Santa and tinsel and candy canes and everything!  Everybody – but everybody – on that train has a big, fat smile on his face.

It’s to the point that somewhere around September (or whenever the weather starts getting cold), I begin to get a little itchy to put up the Christmas tree.  In my house, the day after Thanksgiving is dedicated to eggnog, Christmas music, Christmas movies, and trimming the tree.  It beats going to the mall by about fifty miles.

But I know that some people out there don’t particularly love this holiday season.  Too much stress, travel arrangements, gifts to buy, family drama… it can all get a bit overwhelming.  I understand.

So, in order to help you find a little of the Christmas cheer that fills me every December, I’ve written a little guide.  For one day, at least, forget the drama, forget the travel, forget the stress, and make some gifts from the heart instead of buying some overpriced tat.

It’s just a few easy steps to follow; and if you’re not a little happier at the end of it all, then you weren’t trying hard enough.

Ahem.

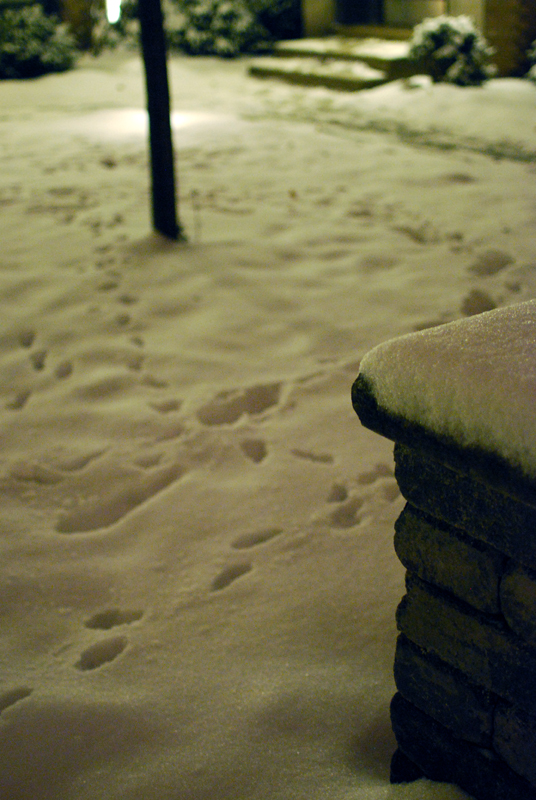
First, take a walk.  Preferably through a Winter Wonderland, but if it’s merely chilly, that’ll do just as well.

Take a long walk, and clear your head of any pesky thoughts.

Just walk for a while, and see what you see, smell what you smell, hear what you hear.  Walk.

Come home.  Turn on the tree.  Place it by a window so everyone else can see it too.  (Bonus points for putting it next to a mirror, for twice the sparkles.)  If you don’t have a tree, maybe light some candles.

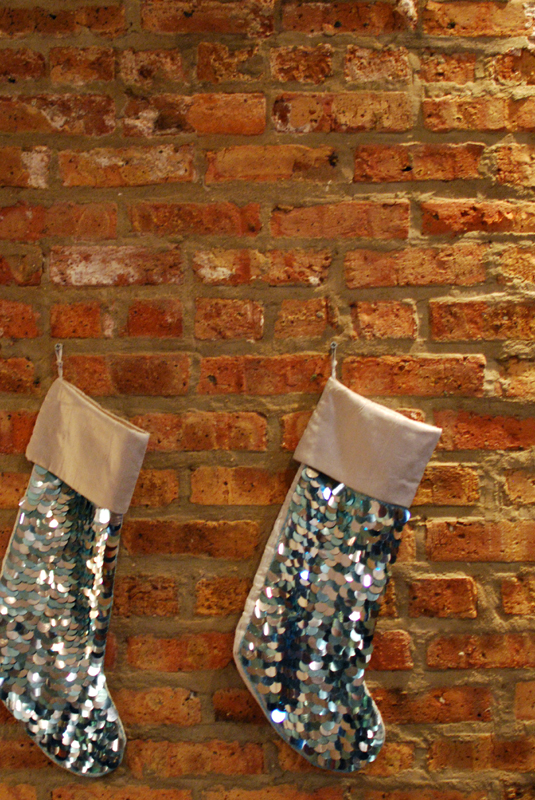
Hang some stockings, either on a chimney, or just something that looks like a chimney.

Turn on the fireplace.  Or, you know, whatever you’ve got.

Play some Christmas music; or, if you’re absolutely sick of that stuff by now, play your favorite upbeat album.

Next, chop some chocolate.
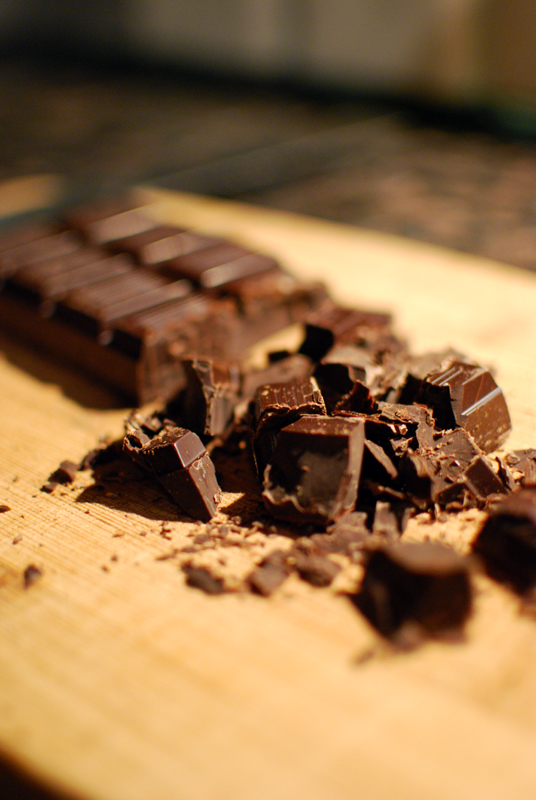
a serrated knife is the best tool for the job

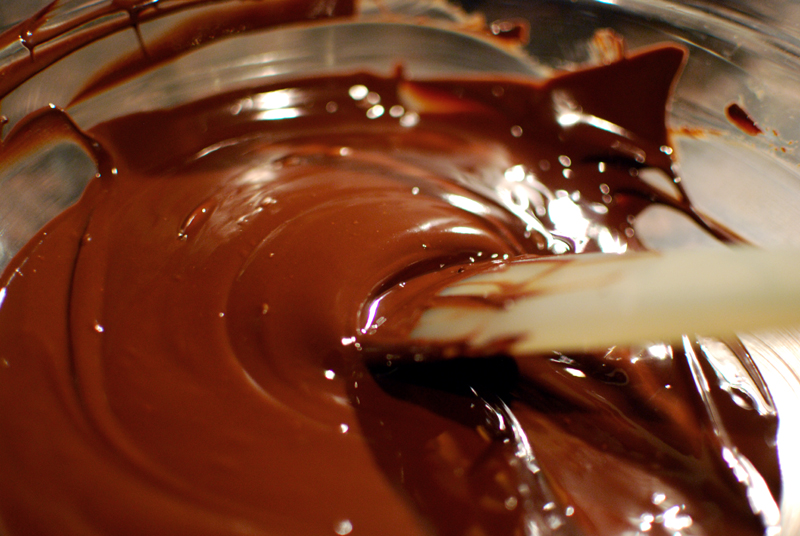
Melt it.

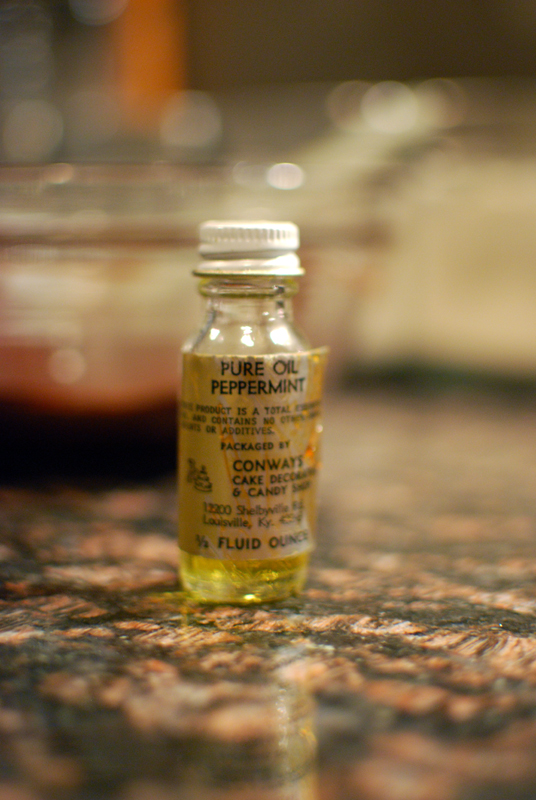
Add peppermint oil.

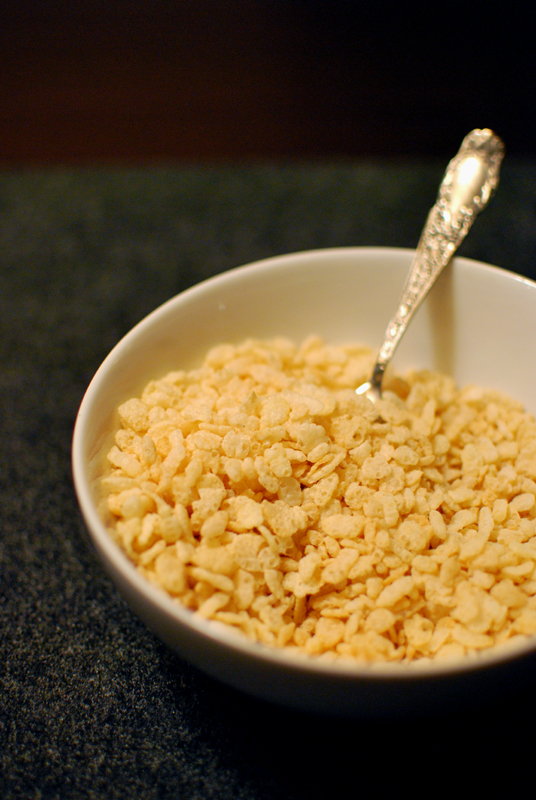
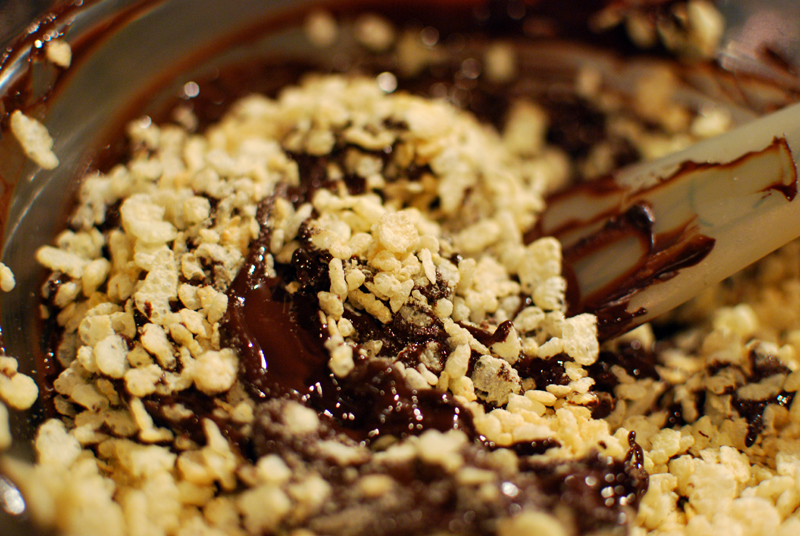
Stir in Rice Krispies (generic store brand is just as good).

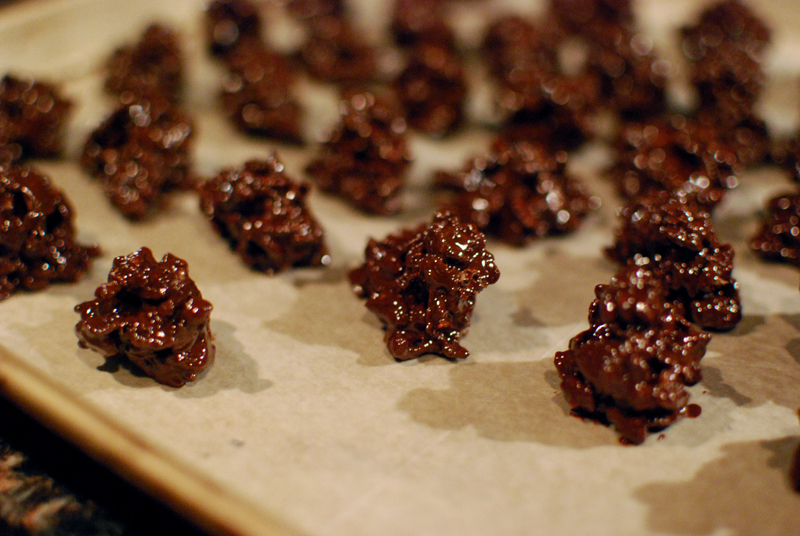
Spoon out onto wax paper.

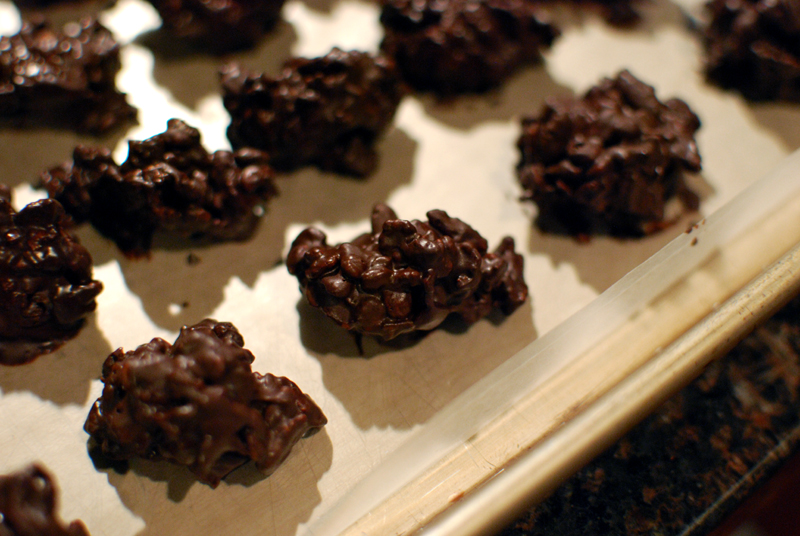
Let cool.

Give them away, but keep a few for yourself.  Count your blessings.  Send your loved ones, past and present, some good thoughts.  Send yourself a few, too.

If you’re not smiling a little after doing all this, then rinse and repeat.  For me, it never fails.  This is Christmas.

Crispy Chocolate-Mint Guys
Makes about 50

These could not be simpler.  They’re a fantastic way to use up any leftover melted chocolate, if you ever have any.  Take care when adding the peppermint oil, as one drop too much can make them taste unbearably minty.  (Famed chocolatier Jacques Torres makes something similar, but without peppermint flavor and using cornflakes instead, and I understand he can barely keep them in stock.  If it’s good enough for Jacques, it’s good enough for me.)

10 ounces good-quality chocolate
1/8 to 1/4 teaspoon peppermint oil (not extract)
2 cups (about 4 ounces) puffed rice cereal (aka: Rice Krispies), or as much as needed

1.  Chop the chocolate, leaving about 1/3 in larger pieces (which will help temper the chocolate).  Place it in a medium to large microwave-safe bowl.

2.  Heat the chocolate in the microwave on high for 45 seconds.  Remove and stir (it will not be very melty yet).  Continue microwaving in 10 to 15 second increments, stirring after each one, until the chocolate is mostly melted, but a few large lumps remain (this is important; do not fully melt it in the microwave).

3.  When chocolate is heated enough, remove from microwave and stir gently until all lumps melt.  This may take a minute or two.

4.  Add peppermint oil in 1/16 teaspoon increments, tasting after each addition, until chocolate has a noticeably minty flavor.

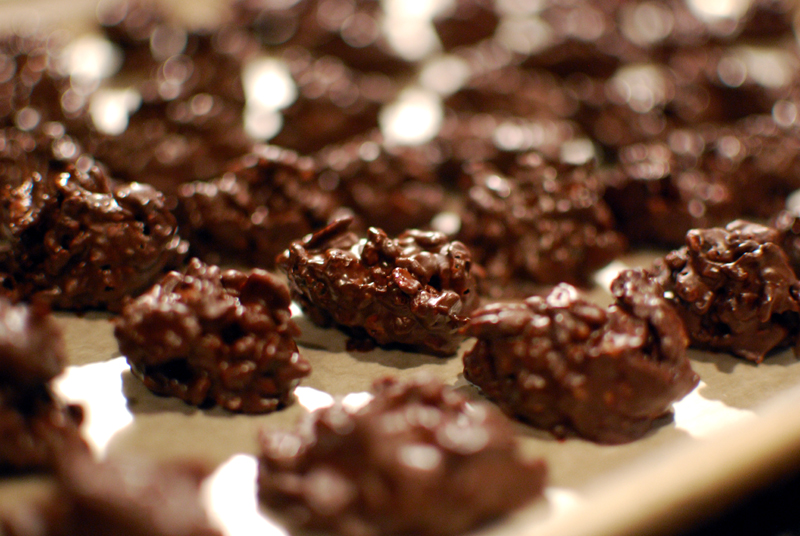
5.  Stir in rice cereal until fully coated, adding more if necessary.  Spoon out onto a wax-paper-lined sheet tray in bite-sized mounds.

6.  Let sit briefly, about 15 minutes.  If properly tempered, the chocolate will begin to firm up.  If not, place in refrigerator until set.  Even if they don’t look perfect, they’ll still taste the same.
Buckeyes

Sometimes, despite my best intentions, little things in my life get put on extended hold.  Take, for example, the bag of buckeye centers that had been happily taking up space in my freezer for well over a month.

I had previously been merely aware of the existence of buckeyes, and knew of the delights inherent in dipping orbs of peanut butter, butter, and sugar into chocolate.  The knowledge, though, sat in the back of my mind alongside desserts like rice pudding and apple cobbler, comforting old favorites that are surely worth making and are certainly delicious, but that I’ve never actually gotten around to making in my own kitchen.

But after The Kitchn featured buckeyes in early December, I decided they’d be the ideal treat to pack up into darling little tins, tied with brightly-colored ribbons, and hand out as favors at the glimmering holiday party I’d be throwing.  There would have been music and snacks, and potentially streamers.

This party, of course, never happened.  Between finishing up A Bread A Day, the stress of being laid off, driving halfway across the country for Christmas, and everyone I know leaving town at different times, it just wasn’t meant to be.  So the buckeye centers languished, shaped and frozen, baleful globes eyeballing me as I tossed them aside in search of frozen bread or frozen onions.

And finally, as I knew it would, the food hangover that is January (and most of February) finally lifted, and I felt that it was safe to allow a few indulgences back into the kitchen.  Out came the buckeyes, and out came the dipping chocolate, and I now have a freezer full of buckeyes.  Eyeballing me.

Dipping things into chocolate sounds reasonably easy; and it is, if you know one or two small tricks.  One: use a coating chocolate, unless you really enjoy tempering your Callebaut.  Me, I have better things to do, so I use a kind of chocolate that specifically says it’s for coating.  It melts smoothly and easily, and will set firmly without having to worry about the chocolate going out of temper.  If it starts to set up while you’re working, you just heat and melt it again.  Easy!

Yes, there are a few extra multi-syllabic ingredients, which I usually try to avoid; but unless you want to dilute your nicest chocolate with paraffin, or spend hours getting the temper just right (repeatedly), I suggest a quality coating chocolate.  Try it if possible; if it doesn’t taste good to you out of the bag, it won’t taste good on your dessert.  In a pinch, Ghirardelli chips work reasonably well (and can be mixed in to improve the flavor of a lesser coating chocolate), but other brands of chocolate chips don’t melt smoothly.

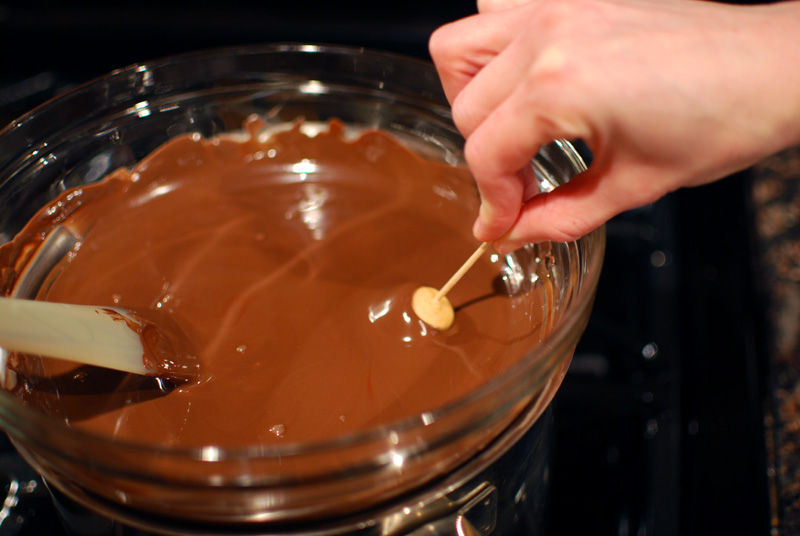
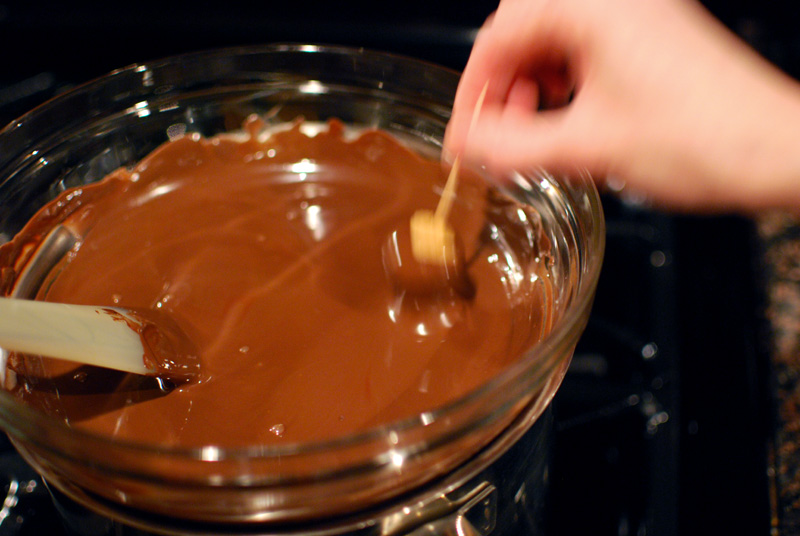
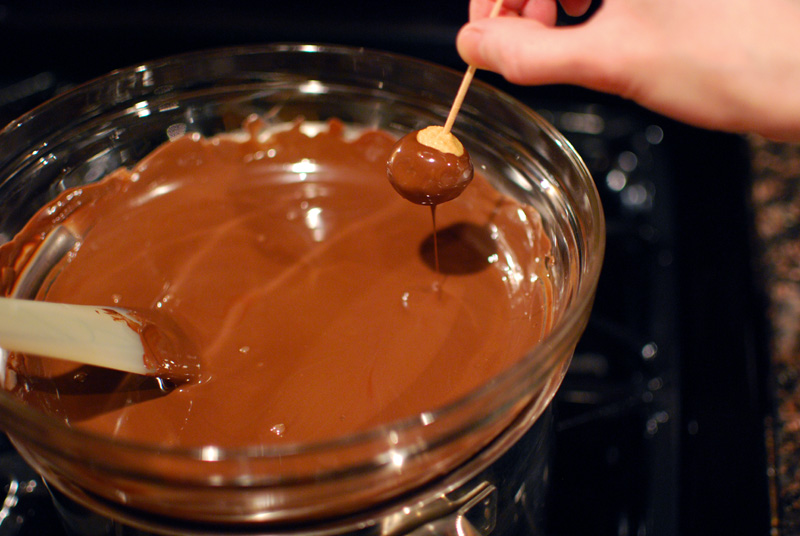
The second tip for chocolate dipping is all about technique.  The idea is to have a thin shell of chocolate around the center, not an inch-thick coating to have to gnaw through.  To get an appropriately thin coating, dip the center into the melted chocolate, then kinda bounce it up and down rapidly in the chocolate, slowly drawing the center out of the chocolate as you bounce it.  A sort of capillary or suction effect happens when you do this, and any excess chocolate will stay in the bowl, and not clinging to your center.  Very little chocolate should drip off the bottom.

It takes just a little practice, but when you get it right, you’ll look like a professional chocolatier.  You can tell you’ve got it down pat when your buckeyes don’t have “feet”: that little pool of excess chocolate that forms around the bottom when you’ve got too much coating.  A little “foot” is inevitable and okay, as it prevents them rolling around; but if it looks like they’re sitting on a small plate made of chocolate, there’s a little too much coating.

One last tip for chocolate dipping: always melt more chocolate than you think you’ll need.  Trust me, it isn’t fun to try to dip centers into a tiny puddle of chocolate left in the bottom of the bowl.  Use a bit of depth, and your life will be much easier.

As a bonus, the extra melted chocolate can be used to make a simple secondary treat: chocolate krispies.  Add some Rice Krispies (how much cereal depends on how much leftover chocolate you have), and stir to coat.  You can either shape it into individual candies by dropping, or by spreading it out on wax paper into a flat sheet, and breaking or cutting into pieces.  It may not sound sophisticated, but I promise everyone will go absolutely nuts over them.  I like to flavor these by stirring a little peppermint oil (not extract!, it will make your chocolate seize up) into the chocolate before adding the cereal.  These are just as good with corn flakes, or any other crisp and mild-flavored cereal.

Buckeyes
Makes about 10 dozen 3/4-inch buckeyes

Ingredients:

  • 1/2 cup (1 stick) unsalted butter, well softened
  • 2 cups (about 16 ounces) smooth peanut butter (not organic or natural)
  • 1 teaspoon vanilla extract
  • 1 (16 ounce) box powdered sugar
  • 3 cups puffed rice cereal, such as Rice Krispies (optional)
  • 1 pound coating chocolate

Directions:

  1. 1.  In the bowl of a stand mixer, beat together the butter, peanut butter, and vanilla until smooth.  Add the powdered sugar gradually, beating on low until incorporated.  The mixture will be stiff.  Add the cereal, and blend thoroughly to incorporate.  Cover the bowl, and refrigerate for at least 1 hour.
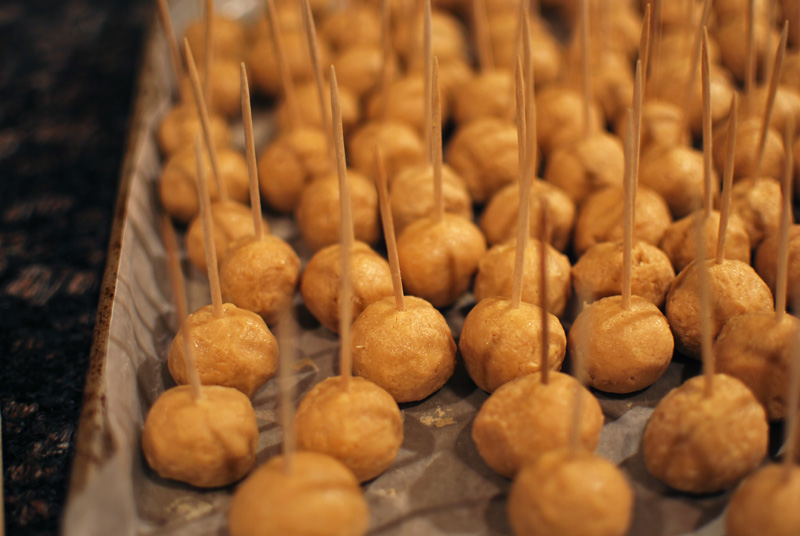
  2. 2.  Roll the chilled mixture into small balls (using about 1 heaped teaspoon per ball), and place on a rimmed cookie sheet in a single layer.  Freeze the balls until hardened, at least 1 hour.  If not dipping immediately, transfer to a plastic zip-top bag and keep frozen.
  3. 3.  Melt the chocolate in a double boiler, or in the microwave, stirring occasionally to help melt.  Remove half of the centers from the freezer, and place a toothpick in each one.  Dip each ball into the chocolate, leaving a bit on top uncoated to give it the traditional buckeye look.  Quickly bounce the center up and down in the chocolate to remove any excess coating, and transfer to a wax-paper lined baking sheet to set either at room temperature or in the refrigerator.  Repeat with remaining centers.  When set, store in a wax-paper lined airtight container for a few days at room temperature, or for up to a few months in the freezer.


Notes:
1.   I prefer Skippy brand peanut butter for baking, but whatever brand you use, make sure it isn’t the kind (organic or natural) that separates at room temperature.

2.  I make my buckeyes relatively small; if you prefer larger ones, use about 1 tablespoon of the filling mixture for each one.

3.  The rice cereal is optional in the filling.  To me, “crunchy” is the noblest texture, and I like it nearly everywhere.  Besides, it gives you an excuse to have the cereal on hand to make chocolate krispies with the leftover melted chocolate.

4.  In step 3, I advise only dipping half of the centers at a time to keep them as hard as possible.  If the centers soften too much, the toothpicks will easily fall out, meaning that you will lose many centers into the morass of melted chocolate.  If that starts to happen, re-freeze the centers until hard enough to continue.

Chocolate Tahini Sablés

I found myself the other day just a few ingredients shy of a dish that has been on my “to cook” list for some time now.  (Side note: said dish is supremely flavorful, and is now in the permanent file.)  As I walked to the store, my mind was buzzing, but not with visions of the promised lightly caramelized butternut squash, pungently sweet red onion, or earthy chickpeas.  No, my mind was focused on the tahini I was about to purchase, and on cookies.

You see, I had just made a batch of cookies to scratch a baking itch, and to provide a little midday relief for the sweet tooth that occasionally plagues me.  They were nothing out of the ordinary, just little chocolate chip guys with a small handful of steel-cut oats added.  Perfectly fine.  But as respectable as those cookies had been, they just didn’t ring my bell.  They were good, but not great.  Me, I want cookies to be unquestionably worth every calorie.  Good is not good enough; I want them to be friggin’ amazing.

And so, sub-par cookies tugging at my mind, I set out to buy tahini.  Since my last jar of tahini lasted me approximately five years (before I threw it out), I wondered what to do with the remainder of this jar.  Somewhere along the way to the store, the idea came to use it in cookies.  But not just any cookies, shortbread cookies.  And, ooh!, with chocolate!  Sesame seed butter and chocolate?  Yes, please.

I wasn’t sure where that idea had come from; but when I got home to search my saved recipes for shortbread, sure enough, there was a tahini shortbread recipe recently ripped from Food & Wine Magazine.  Of course.  How quickly I forget; luckily, my brain had filed that away for such a time as this.  The idea of tahini in a shortbread cookie, with a generous amount of salt, sounded like exactly what I was looking for.

But in my search, another recipe caught my eye (original source forgotten, a copy is here), one for shortbread in the French-style, known as a sablé.  This dough, however, used a hard-boiled egg yolk, of all unusual things to put in a cookie.  Being a sucker for unusual ingredients, it was impossible to choose between the two recipes, especially since the latter included a chocolate variation.

There was nothing to do but incorporate elements from both recipes: the egg yolk and cocoa from the one, the tahini from the other.  The dough tasted and smelled exquisite, redolent with the nutty aroma and flavor of sesame, rich with chocolate and a gluttony of butter.  Rolled in coarse turbinado sugar, the edges glistened.

The fragile texture was textbook sablé, crumbling at the merest pressure into the most beautiful sandy crumbs, and the generous pinch of salt in the dough lends an intriguing and almost savory note.  If I’m honest, I only wish the tahini flavor had held up in the oven a little more.  So sesame-forward in the dough, it seemed to succumb readily to the chocolate flavor after baking.  Rolling the dough in sesame seeds instead of sugar would accentuate it, of course; but I can’t imagine giving up that fantastic crunch of coarse sugar against melting sablé crumb.

As good as these cookies were straight from the oven, they’ve only improved after sitting for a day or two.  They seem to take on new complexity of flavor with every hour that passes, and the incomparable texture remains just as good.  With this recipe, the disappointment of sub-par cookies will never haunt you; these are absolutely worth every single calorie.

Chocolate Tahini Sablés
Makes about fifty 1 1/2 inch cookies

Ingredients:

  • 1 large egg
  • 10 tablespoons unsalted butter, at room temperature
  • 1 cup (5 ounces) tahini, stirred
  • 3 tablespoons (1 1/2 ounces) granulated sugar
  • 3 tablespoons (1 1/2 ounces) brown sugar
  • 1 teaspoon salt
  • 1 1/2 cups (6 7/8 ounces) unbleached all-purpose flour
  • 1/4 cup (1 ounce) unsweetened cocoa powder
  • 1 teaspoon instant coffee
  • Coarse sugar (such as turbinado or demerara), for finishing


Directions:

  1. 1.  Hard-boil the egg by placing it in a small saucepan.  Cover with cold water.  Bring to a boil.  When the water reaches a boil, remove it from the heat.  Cover the pan, and let the egg stand in the water for 10 minutes.  Meanwhile, fill a small bowl with ice water.  When the egg is done, transfer it to the ice bath, and chill for 5 minutes.  Peel, and discard (or eat) the white.  Press the yolk through a fine mesh strainer into the bowl of a stand mixer.
  2. 2.  Add the softened butter, tahini, sugars, and salt.  Using the paddle attachment, cream the mixture together at medium speed until light and fluffy, about 4 minutes, scraping the bowl as needed.
  3. 3.  Meanwhile, whisk together the flour, cocoa, and instant coffee.  Add to the other ingredients, and mix on low until just incorporated, scraping the bowl once or twice.
  4. 4.  Divide the dough in half, place each half on a piece of parchment or wax paper, and shape each piece into a log about 1 or 1 1/2 inches in diameter.  Wrap the paper around the dough, and twist the ends to seal.  Refrigerate until firm, 1 to 2 hours.
  5. 5.  Preheat the oven to 325º F, and position a rack in the center of the oven.  Line a large baking sheet with parchment paper, or grease it lightly.  Sprinkle a generous handful of coarse sugar on a flat surface (such as a cutting board), unwrap one log of dough, and roll it in the sugar until completely coated, pressing to adhere the sugar.  Slice the log crossways, and arrange the slices on the prepared baking sheet.
  6. 6.  Bake at 325º F for about 25 minutes, or until the cookies are set and no longer feel very soft when touched lightly.  Slide the parchment onto a cooling rack, and let cookies cool completely.  Repeat coating, slicing, and baking with the remaining log of dough.  Cookies will keep for up to a week in an airtight container at room temperature.

Notes:
1.  If you’d like to boost the sesame flavor, try rolling the cookies in sesame seeds instead of the sugar.