Cranberry Beans Two Ways: Part I

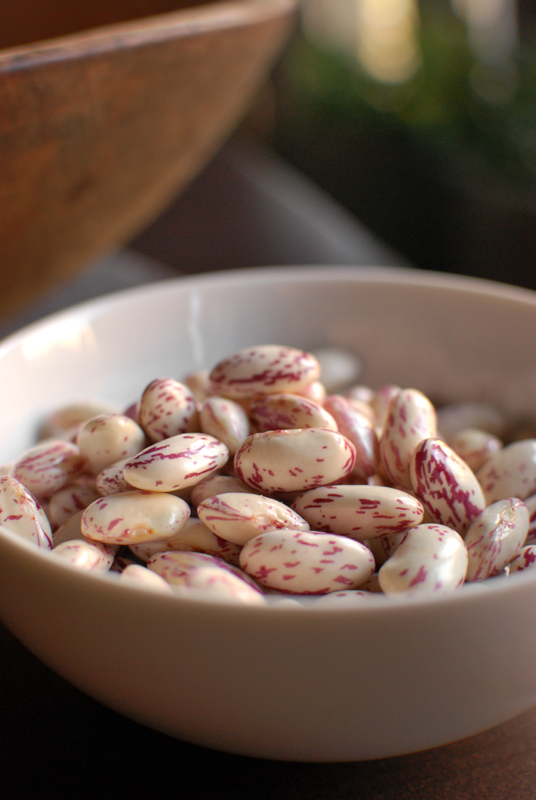
Recently at the store, I came across some fresh cranberry beans.  Or rather, I came across some strikingly mottled magenta and cream pods that (upon further research back at home) turned out to be cranberry beans.

Sometimes, I like to treat myself to some unfamiliar fresh produce.  I like the challenge of knowing that there must be something people do with a certain item, but having only the slightest clue to what exactly it might be.  Such was the case here.  Obviously, people cook fresh beans all the time, but it’s one thing that I had somehow managed to avoid thus far in my culinary exploits.  But those pretty pods turned my head, and two pounds of them charmed their way home with me.

A little searching turned up a boatload of very basic and similar ways to cook the fresh beans: basically in salted water, perhaps with an onion or bit of celery.  One common (and initially puzzling) thread among those recipes was that, invariably, at least one commenter remarked on how bland they turned out.

After a moment’s pondering, it struck me that of course they’re going to be bland.  They’re plain beans.  One wouldn’t enjoy them any more than any other pile of unadorned, ungarnished, unglamorous, plain beans (unless one really enjoys plain beans, that is).

But toss those beans with with a quick vinaigrette, plenty of fresh herbs, and a few other highly-flavorful supporting players, and there’s no way they could be derided as “bland”.  Even better would be to make sure they’re cooked in something more interesting than just salted water.  The leek tops in my freezer waiting to be used for stock were just the thing to help; a quartered onion, some celery, and a quick bouquet garni provided needed backup.

In this particular bouquet garni were a few sprigs of parsley, some fresh thyme, black peppercorns, whole allspice, a couple of juniper berries, some ultra-hot dried pequin peppers, and two bay leaves.  Tied up in cheesecloth, they were easy to remove from the broth when the beans were fully cooked.

As I knew it would, the gorgeous pink striping on the beans disappeared completely in cooking, and the broth took on a faintly rosy hue.  The leeks, onion, and bouquet garni remained floating on top of the broth, easily lifted out when necessary.  The cranberry beans settled to the bottom, and had to be strained from the broth.

The broth is highly flavorful; don’t even think about throwing it out.  It makes the most amazing soup, especially due to the starch content from the beans, which provides a delightful body absent in most broth-based soups.  I can see simply simmering kale or mustard greens in it, with maybe a parmesan rind tossed in for good measure.

I’ve written two recipes below.  One is for the plain old cooked beans, to be used however you see fit; the other is for the warm bean salad I made with half of the cooked beans.  Stay tuned for what to make with the other half!

Basic Cooked Cranberry Beans
Makes about 1 pound (or 3 cups) cooked beans

I don’t specify in this particular recipe what may be done with either the broth or the beans, but both are so flavorful that I don’t think you’ll have many problems finding uses.  Use the broth in most places you would use chicken or vegetable stock (it will be rather cloudy); see below for a recipe specifically for the warm, just-cooked beans.

5 or so stems fresh parsley
2 to 3 stalks fresh thyme
2 bay leaves
1/2 teaspoon whole black peppercorns
5 dried pequin peppers (optional, also may substitute other small dried chili peppers)
5 whole juniper berries (optional)
3 whole allspice berries
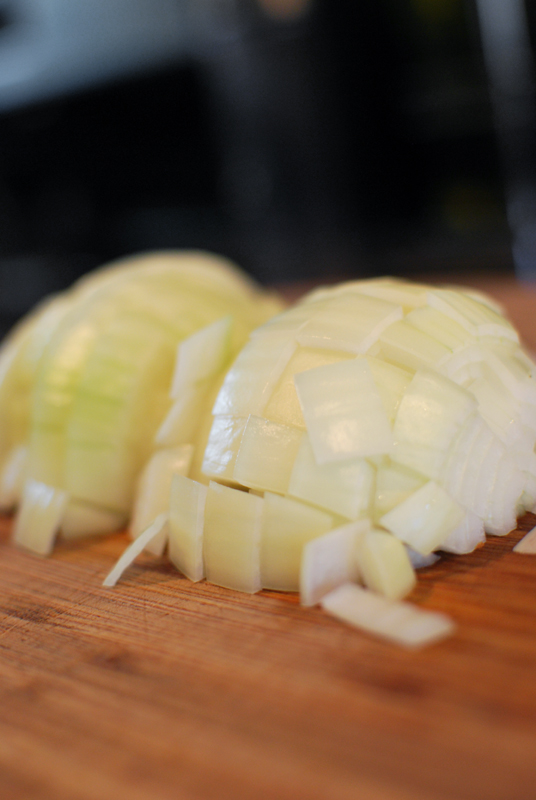
1 onion, peeled and quartered
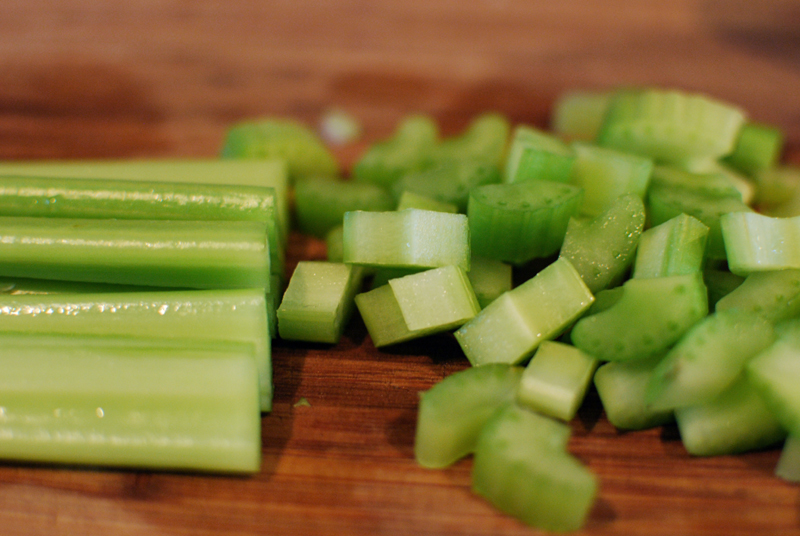
2 stalks celery, chopped roughly
Green tops from 1 bunch leeks (save whites for another use), washed well
2 pounds fresh cranberry beans in pods, shelled and rinsed

1.  In a triple-thick layer of cheesecloth, tie up the parsley, thyme, bay leaves, peppercorns, peppers, juniper, and allspice into a bouquet garni.  Twine may be used, or simply tie the corners of the cheesecloth together.

2.  Place bouquet garni and all remaining ingredients into a 5 to 6 quart pot, and cover with cold water.  Bring just to the boiling point over high or medium-high heat, then reduce heat to maintain a simmer, over medium-low or low.

3.  Simmer uncovered for about 15 minutes, or until beans are fully cooked.  If unsure, cut a bean in half.  If the center looks chalky and white, continue cooking another 5 minutes or so, until beans are done.

4.  Using a strainer, lift out leek tops, onion, celery, and bouquet garni.  Discard.  Strain beans from broth with either a colander or strainer, reserving both.

Warm Cranberry Bean Salad
Makes 2 large or 4 small servings

1/2 cup pecans
2 teaspoons olive oil
1/4 cup panko (Japanese-style breadcrumbs)
1 teaspoon Dijon mustard
2 to 3 tablespoons Sherry vinegar
1/4 to 1/3 cup good quality olive oil, as needed
1/4 cup roughly chopped fresh basil
1/4 cup roughly chopped fresh parsley leaves
1 1/2 cups warm Basic Cooked Cranberry Beans (see above)
Salt and pepper, as needed

1.  Heat the oven to 350º F.  Spread the pecans in a single layer on a baking sheet and toast in the oven for 6 to 8 minutes, or until fragrant.  While still warm, chop roughly.

2.  In a sauté pan, heat the 2 teaspoons olive oil over medium-high heat.  When hot, add the panko and toast until just beginning to turn golden brown.  Remove from heat, season to taste with salt and pepper (and a little cayenne, if you like), and add 2 to 3 tablespoons of the more finely chopped pecans.  Toss, and set aside.

3.  In a large bowl, whisk together the Dijon mustard and Sherry vinegar.  Drizzle in the olive oil slowly, whisking constantly to emulsify, until glossy and the dressing balances into a flavor that tastes good to you.

4.  Add the basil, parsley, warm beans, and remaining pecans to the dressing in the bowl.  Toss to combine.  Serve, topped with the panko mixture as desired.  (A little grating of Parmesan would not be out of place here.)

Buttermilk Mushroom Soup

I’m not a big fan of cold weather, or Winter in general.  It’s endless months of frozen toes, fingers stiff with cold, the shock of crawling reluctantly from a warm bed, bright red noses that won’t stop running.  But despite the physical discomforts, I can find spots of cheer: tiny sparkling holiday lights everywhere, the rush of warmth from a cup of tea and a thick blanket, watching fat snowflakes flutter past my window.

And soup.

Soup, in my house, is most decidedly a cold-weather affair.  You can make your gazpachos, and corn bisques, and chilled cucumber things all summer long; and they are certainly fine and well.  But for my money, I’d rather have a proper meal of soup, a filling bowl of hot and deeply flavored stuff, far more than some thin, cold liquid that’s halfway to being a beverage.

So soups are reserved for the cold, and I can scarcely think of a better way to warm both you and your house than with a big, bubbling pot of broth.  I made this particular soup the other day, when a craving for mushrooms struck me hard, and the chill creeping in through the windows demanded a bowl of something hot.

Browsing through my bookmarked recipes, I came across a recipe for Buttermilk Squash Soup, from Heidi of 101 Cookbooks.  And, as luck would have it, I just so happened to have a bit of good-quality leftover buttermilk knocking about in my fridge, threatening to go South if I didn’t use it post-haste.

Knowing mushrooms’ affinity for things creamy and tangy, I decided that buttermilk-enriched recipe was the perfect starting point.  Using the loose framework of “make soup” and “add buttermilk at the end”, I patched a recipe together starting with a base of plenty of onion and garlic, with a potato thrown in for some body.

When making soup, after sweating the vegetables together I like to deglaze the pan (whether it needs it or not) with a spot of wine, or some other liquor, or even beer, depending on the primary flavor of the soup.  Alcohol, scientifically speaking, opens up different and more complex flavors than can be achieved without it, especially in slow-simmered things.  And, you know, if some happens to accidentally spill into a nearby glass, it would surely be a crime to let it go to waste.  Purely on accident, of course.

In this soup, I used a combination of white wine (since I had some) and only a splash of brandy, as brandy and mushrooms are great friends, but I didn’t want the other flavors to get overwhelmed with its strong caramel and vanilla nature.  A generous dose of thyme added a light, herbaceous note to complement the earthy mushrooms.

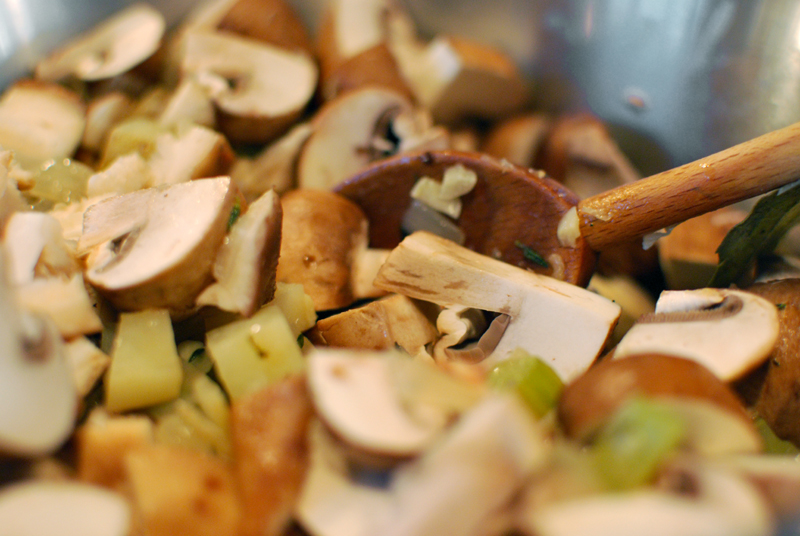
I personally prefer soups with a few bits of items in them, so a few handfuls of mushrooms were set aside to be added in later, after cooking and blending the other ingredients to a smooth purée.  Soups are simply more interesting if you have things in them to chew on.

mushrooms reserved for later addition

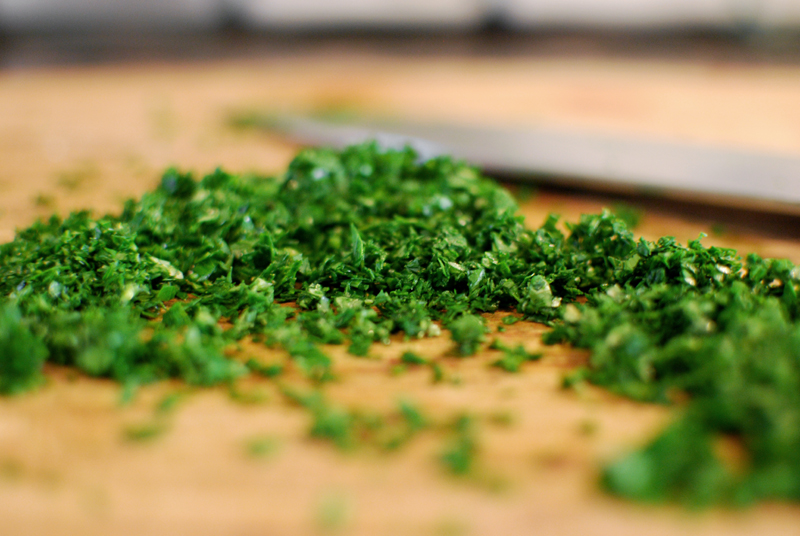
To prevent the buttermilk from possibly separating or curdling, the soup was cooked and puréed first, and the buttermilk added at the last minute, along with some fresh parsley for a little brightness.  A quenelle of pesto on top was a welcome garnish, but if you have none on hand, a swirl of good olive oil is just as lovely.

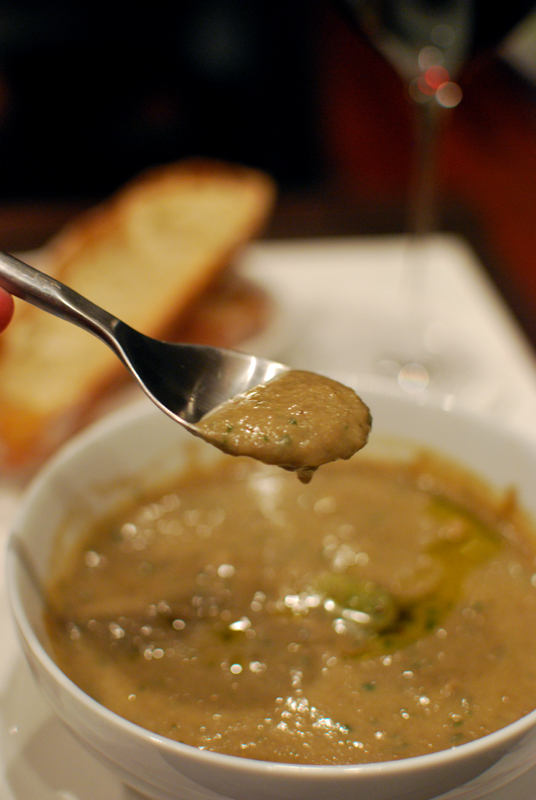
Thick and full-flavored, robust and so slightly tangy, this soup was exactly what I wanted on that cold evening.  Despite its drab hue, it was the prettiest thing I’d seen all day.  It warmed, and comforted; and if there’s more soups like this in store for me this Winter, I say bring on the cold.

Buttermilk Mushroom Soup
Makes 6 to 8 servings

This is a fairly thick soup, one with a bit of heft to it.  If you prefer a thinner soup, just add additional water or stock to thin it to the desired consistency.

2 tablespoons butter
1 tablespoon olive oil
2 medium onions, chopped
3 ribs of celery, chopped
1 large potato (about 12 ounces), diced
6 cloves garlic, minced
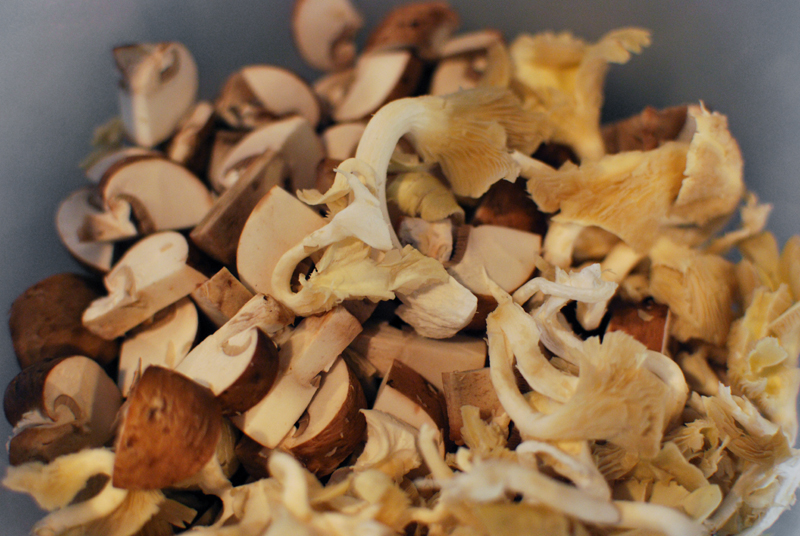
5 ounces oyster mushrooms
5 ounces shiitake mushrooms, stemmed
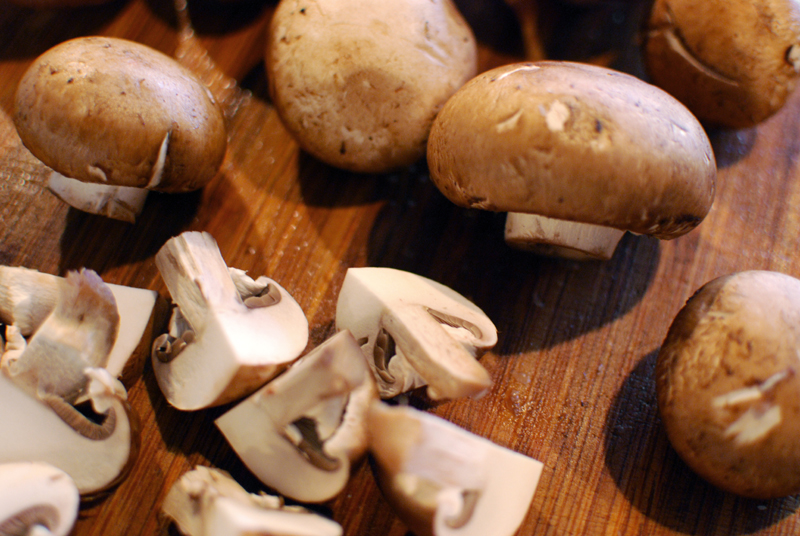
1 pound crimini mushrooms
1/2 cup white wine (or dry vermouth, or a splash of brandy)
1 bay leaf
2 tablespoons dried thyme (or several sprigs of fresh thyme)
2 cups vegetable or chicken stock
1/4 cup minced fresh parsley
1 1/4 cups buttermilk, at room temperature
Salt and pepper, as needed
Olive oil, for garnish

1.  In a large pot, heat the butter and olive oil together over medium-high heat.  Add the onions, and cook until just translucent, 5 to 10 minutes.  Add the celery, potato, and garlic, and cook until softened, another 5 to 10 minutes.

2.  Meanwhile, chop the mushrooms into 1 inch pieces as needed.  Reserve about 2 cups, to be added in later.  Add the remaining mushrooms to the pot, and cook until softened, about 5 minutes.

3.  Add the white wine or vermouth, scraping the bottom of the pot to release any browned bits.  Cook until nearly dry, then season lightly with salt and pepper.  Add the bay leaf, thyme, and stock.  Add enough water to cover all vegetables with liquid; you may not need much.  Bring to a boil, then reduce heat to medium-low and simmer for at least 15 minutes, or until all vegetables are very soft.

4.  Purée soup in the pot with an immersion blender, or by transferring in batches to a blender, taking care to hold the lid securely on when puréeing the hot soup.  The blended soup will be very thick.  Return soup to the pot, and add the reserved mushrooms.  Cover and cook over medium-low heat for about 10 minutes, or until mushrooms have softened.  Add the chopped parsley and buttermilk.  Taste, and correct seasoning with salt and pepper.  Serve with a drizzle of olive oil on top and some crusty bread.

Five Minute Photo Shoot: Miso-Glazed Mushrooms and Celery

Thrown together from things I found in the refrigerator: a quick sauté of button mushrooms and celery, coated with red miso that I thinned with water, and served over leftover mai fun rice noodles, garnished with peanuts and celery leaves.  That is pretty much the recipe, shockingly enough.  I was very restrained today, and didn’t use one single spice other than black pepper.  Not even hot sauce.

I threw the roasted chopped peanuts, thinking how well peanut butter and celery go together in that childhood snack, Ants on a Log.  (I always hated the “ants” part, since I’ve never liked raisins, and would demand their omission on mine.)  The flavors of celery, peanuts, and mushrooms are really delightful together, as it turns out; I’m going to have to play with that more in the future.

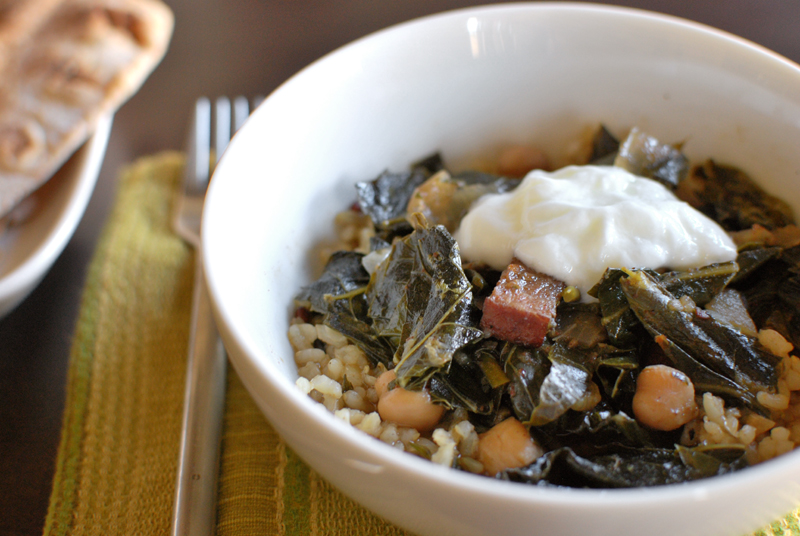
Five Minute Photo Shoot: Greens with Tasso and Chickpeas (and a Recipe!)

Since I’ve been neglecting you all lately, here’s a special edition Five Minute Photo Shoot: one with a recipe!

I threw this dish together the other night when some friends came over for dinner.  I was just about to take off for a whirlwind trip to my hometown, New Orleans, and felt I should make room in my freezer for all the goodies I was planning to bring back.  A block of tasso (a highly spiced bit of cured ham used for seasoning in Cajun and Creole cooking) was begging to be used up, and I was craving some serious greenery; this is what resulted.

The flavorful tasso got sautéed with an onion and some crimini mushrooms, before adding in a can of chickpeas and about a million collard greens (which always cook down into oblivion).  A splash of chicken broth, a rind of Parmesan, and a bay leaf tied everything together, and made just the sort of thing I want to eat on these newly-chilly Fall nights.  For dinner, I served it alone with a wedge of Northern-style cornbread; it went over rice for lunch, with a dollop of yogurt on top and some whole-wheat flatbread on the side.

Greens with Tasso and Chickpeas
Makes 6 to 8 servings

I used collard greens here, but you can substitute mustard greens if you like.  Instead of the hard-to-find tasso (and in case you don’t want to make your own), use any spicy, highly-flavored sausage you like, such as Spanish chorizo.  Add extra broth if you’d rather have a more soup-like dish.  Do not skip the Tabasco sauce; it makes the dish.  You could stir it into the pot as it cooks, but I much prefer the random and more potent spice it gives by adding it at the table.

1 tablespoon olive oil
1 large onion, chopped
12 to 16 ounces tasso, cubed
8 ounces crimini mushrooms, quartered
1 can (15 ounces) chickpeas, drained and rinsed
1 bay leaf
1 sprig thyme
1/4 teaspoon freshly-grated nutmeg
3 pounds collard greens, thoroughly washed, ribs removed, and chopped
2 cups chicken broth
1 rind from a used wedge of Parmesan
3 scallions, chopped
1/3 cup parsley leaves, roughly chopped
1 to 2 tablespoons fresh lemon juice
Salt and black pepper, as needed
Toasted pine nuts, optional garnish
Tabasco sauce, not optional garnish

1.  In a large stock pot, heat the olive oil over medium heat.  Add the chopped onion, and sauté until translucent, 5 to 10 minutes.  Add the tasso, and cook until tasso browns, about 5 minutes.  Add the mushrooms, cooking until they release their liquid, about 5 minutes.  Add the chickpeas, bay leaf, thyme, and nutmeg.  Stir and cook until fragrant, about 5 minutes more.

2.  Meanwhile, prepare the collard greens, which will take longer than you think.  As you chop them, add them to the pot.  Stir to avoid burning.  When all greens have been added, add broth and Parmesan rind.  Cover loosely, reduce heat to medium-low, and let simmer about 15 minutes, stirring occasionally.

3.  Remove pot from heat.  Remove bay leaf (and Parmesan rind, if inedible).  Stir in chopped scallions and parsley leaves.  Add lemon juice, salt, and freshly-ground black pepper to taste.  Serve immediately in bowls, or over rice, with toasted pine nuts (optional) and Tabasco (not optional).

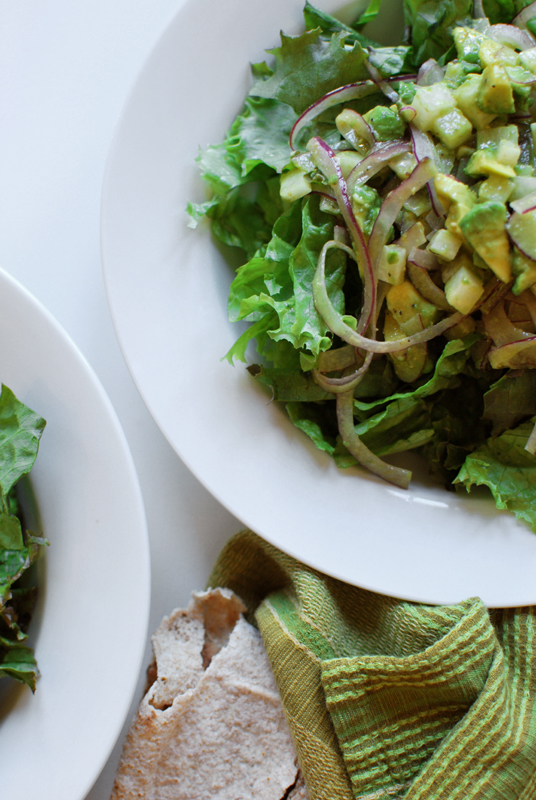
Five Minute Photo Shoot: Jicama Avocado Salad

I haven’t done one of these in ages.  Embarrassingly, it’s mostly due to the fact that I haven’t been making myself proper lunches.  Time for a change!

This is a bed of red leaf lettuce, topped with a bit of chopped jicama and avocado, shaved red onion, and a red miso-mustard dressing with plenty of black pepper.  Whole wheat flatbread rounds out the quick lunch for two.

Creamy, crunchy, tangy, and surprisingly filling.  Just what I wanted.

Pâté, and Exuberance

When I started this blog, I fully intended to post two or three times a week.  And, for a while, I was able to keep that schedule up.  Lately, though, I’ve been far less active here than I’d like, but it’s been for a very good reason, and one that I won’t bother to let remain unspoken any longer.

I’ve been starting my own business.

I like to think of it as my first business, because now that I’m working purely for myself, I don’t think I’ll ever be able to work for someone else ever again.  It’s been hard work, frustrating, anxiety-inducing, uncertain, but entirely amazing.  The amount of support, love, and encouragement from my family and friends (and friends of friends!) these last few months has been nothing short of breathtaking.  It actually catches in my chest a little to think about it.

Now, when people ask me what I do, I say that I am a Personal Chef, and I say it with a pride and a happiness I never thought a simple job description could evoke.  I cook for people in their homes, for everyday meals or for parties, and I come home from each job exhausted and in bliss.  Forgive me if I wax fustian, but I feel like the luckiest girl in the world to have such a career.

So instead of blogging, I’ve been spending my days planning menus, figuring out insurance and business licenses, talking to clients, writing and testing recipes, tracking expenses, hauling pans and groceries up and down three flights of stairs, and trying to understand how on Earth I got so darn fortunate.

In the midst of all this excitement, oddly enough, I’ve become somewhat obsessed with making pâté.  It’s a little strange, since I didn’t grow up with pâté, have had no mind-blowing enlightenment after eating any particularly fine pâté, have never had any particular longing for it, and in fact never really thought much about it.

But perhaps it’s because I have no real experience with pâté that it’s lighting me up now.  Pâté always seemed to me a bit mysterious, a thing expensive, soigné, and difficult to prepare, best left to professionals.  Now that I’m confident enough in my culinary abilities to bill myself as a professional chef, perhaps I decided it was high time I tackled this final frontier.

Whatever the reason for the obsession, I am now the proud owner of two pâté-centric cookbooks, and have a few basic types of pâté now under my belt, specifically ground meat pâté, chicken liver pâté, and a seafood pâté.  The latter two are by far the easiest, requiring only pan-cooking and a quick spin in a food processor before chilling.  But the former, a ground meat pâté, for all its complex ingredient list and intimidating nature, is actually quite simple.

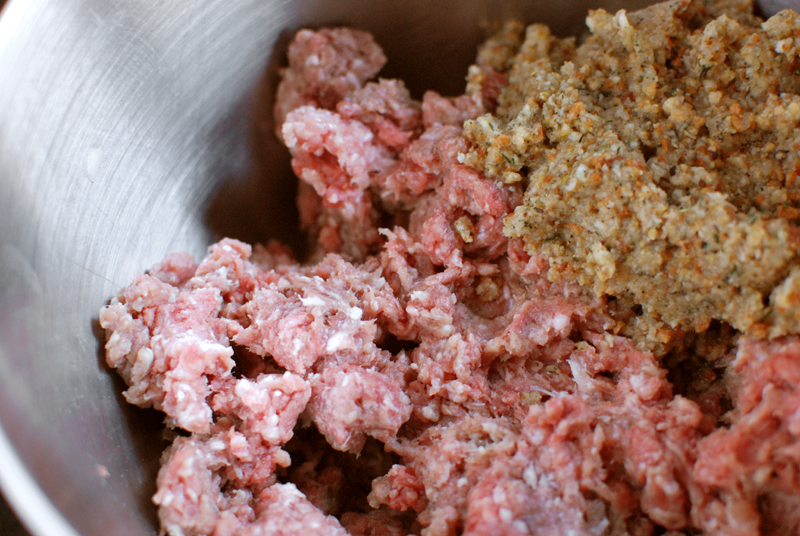
ground meat and moist breadcrumbs will never look pretty

I’ve heard it said that if you can make meatloaf, you can make pâté.  This is cold comfort to me, who has made meatloaf maybe twice in her life, and certainly never in recent memory.  But after trying pâté, I’d say it’s a very apt comparison.  In fact, pâté might be the easier of the two; one must take care with meatloaf, using a light hand to achieve the proper texture.  Pâté, on the other hand, is weighted and compressed after baking; a light hand is wasted here.  That, I can get on board with.

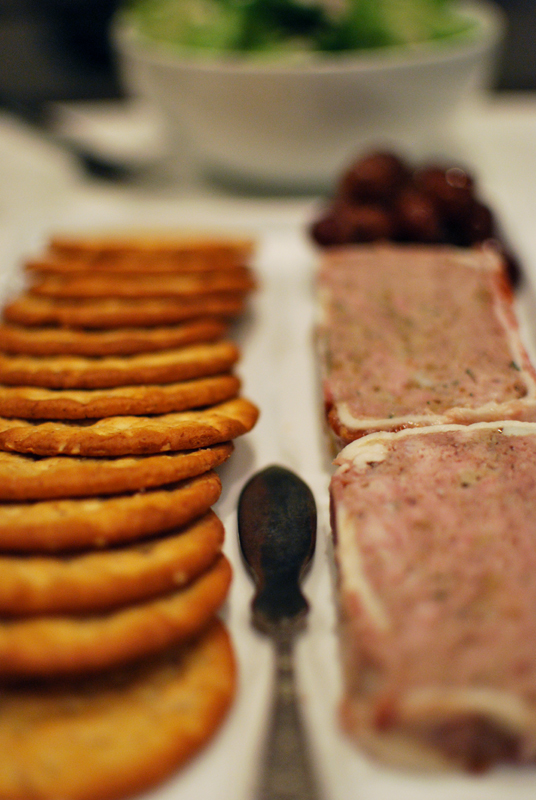
This particular pâté is a rustic style known as pâté de campagne, or “country-style pâté”.  And, as Chef Anthony Bourdain so eloquently puts it, that means “even your country-ass can make it.”  It’s not fussy or complicated by any means, but serve a platter of this with some crackers or baguette slices, and you’ll look like Chef Bourdain’s equal.

blanched bacon; don't bother with this pointless step

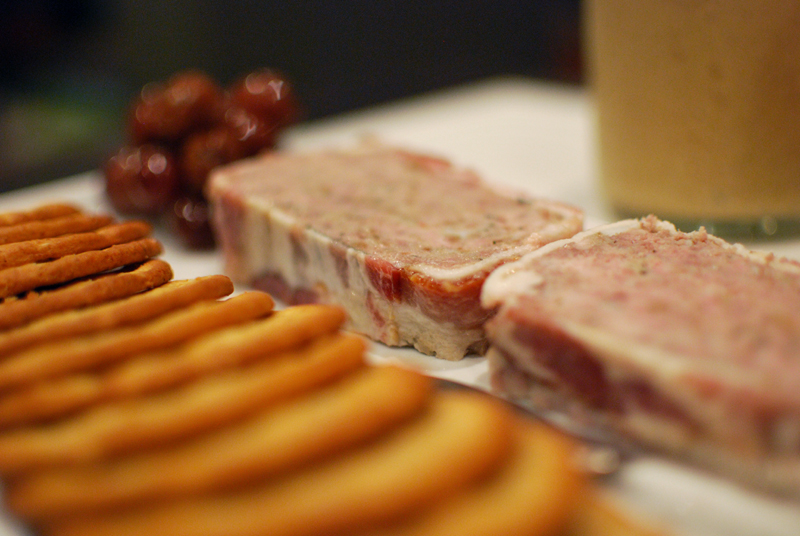
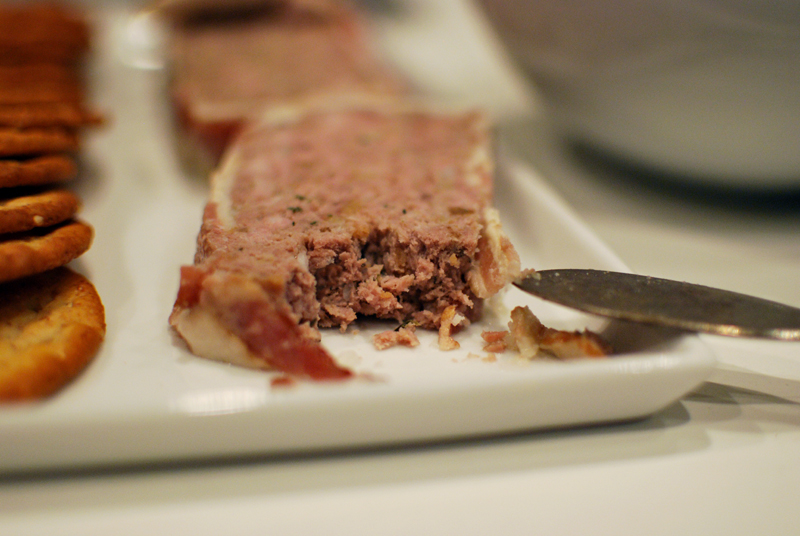
Just barely smoky from the bacon wrapped around the outside, the filling gains depth from onion and reduced brandy, and brightness from a judicious sprinkling of herbs.  The texture is firm enough to slice, but soft enough to coax into spreading evenly over a piece of good bread.  It’s just as fantastic with a glass of champagne as it is with a cold beer, or your favorite red or dry rosé.  I like it with pickles of any sort, and a bit of good mustard, but that’s entirely up to you.

pickled grapes and mustard in the background

I feel pâté is an appropriate match for the news I’m sharing with you.  Both making pâté and starting your own business seem moderately terrifying on the surface, but are certainly manageable with kind encouragement and taking things one small step at a time.  Both carry a deceptive air of haute exclusivity, insinuating that mere mortals need not apply — unless you’re willing to take that first bold action in pursuit.

And certainly pâté is appropriate here, because it’s a food invariably reserved for celebrations, parties, galas, bashes of all ilk.  One never sits down to pâté alone, and this recipe makes far more than could be eaten by even two or three people.  It speaks of generosity, and joy, and riches to be shared.  Pâté is a food of exuberance, and there’s no other word to describe how I feel about it all right now.

Bon appétit.

Country-Style Pâté (Pâté de Campagne)
Adapted from The Cuisinart Food Processor Pâté Cookbook, by Carmel Berman Reingold
Makes two 7 x 2 x 3 inch loaves

This recipe uses a traditional and delicious mixture of ground veal, beef, and pork, but feel free to use whatever meats you like, as long as the total weight equals 2 1/4 pounds.  As tempting as it is, do not use lean ground beef (or lean anything) here; it will make for a dry and insipid pâté.  Plan to make this a day before serving to allow it enough time to compress and chill.

Some pâté recipes direct you to blanch the bacon before using it to line the pan.  I tried this recipe with both blanched and un-blanched bacon and found no discernible difference in flavor.  The difficulty in lining a loaf pan with curling blanched bacon, however, leads me to recommend skipping that step any time you run across it.

1/2 cup brandy
4 cloves garlic
1/2 medium onion
1/2 cup unseasoned bread crumbs
2 teaspoons kosher salt
1 teaspoon freshly ground black pepper
1 teaspoon dried thyme
1 teaspoon herbes de Provence
12 ounces ground pork
12 ounces ground veal
12 ounces ground beef (at least 85% fat)
1 large egg, lightly beaten
2 tablespoons cream
10 strips of bacon, to line the pans
6 bay leaves

1.  Preheat oven to 350º F.  In a small saucepan, bring the brandy to a boil.  Reduce to 1/4 cup, about 3 minutes.  Remove from the heat and let cool to room temperature.  Meanwhile, line two 7 x 2 x 3 inch loaf pans crosswise with 5 strips of bacon each, letting the ends of the bacon drape over the sides.  Set aside.

2.  In a food processor, chop the garlic, onion, bread crumbs, salt, pepper, thyme, and herbes de Provence until smooth.  (If you don’t have a food processor, chop as finely as possible.)  Transfer to a large bowl.

3.  To the onion mixture, add the pork, veal, beef, egg, cream, and reduced brandy.  Mix together thoroughly with hands until well and evenly combined.

4.  Divide the meat mixture evenly between the two prepared pans, pressing it into the corners of the pans.  Top each one with 3 bay leaves, and fold the ends of the bacon strips over the top.  Cover tightly with aluminum foil.

5.  Place the two pans in a high-sided roasting pan or baking dish large enough to hold both.  Pour warm water in the roasting pan until it comes about halfway up the sides of the loaf pans.  Transfer to the oven, and bake at 350º F for 90 minutes.  If the water evaporates during baking, add extra as needed to maintain water level.

6.  Remove the pans from the roasting dish.  Place a flat surface (such as another loaf pan) on top of each pâté, and weight with something heavy (such as an unopened can or two of food from the pantry, or bottles of water).  Allow pâté to cool for a while before refrigerating overnight, leaving weights in place.  To serve, unmold, wipe away any accumulated aspic or fat from the surface of the pâté, and slice crosswise.  Wrap any remaining pâté tightly with plastic wrap and aluminum foil, and refrigerate for up to 5 days.  (Pâté may be wrapped and frozen, but the texture will suffer.)

Spicy Eggplant Caviar

One of the grandest things about living in Chicago is the park system.  Aside from the beautifully-tended landscapes all up and down the shore of Lake Michigan, there are constantly free events for the public to enjoy.  During the Summer, you can find something to do every day of the week.  Free movies?  Free concerts?  Free dance performances?  Free exercise classes?  Check, check, check, and check.

The crown jewel of these venues is Millennium Park, in the heart of downtown.  There, the Pritzker Pavilion, with its exuberantly swooping facade, hosts a daily (sometimes twice a day) concert for lovers of all types of music, from Classical to Hip-Hop and everything in between.

Though there is proper seating near the stage, I’ve never used it.  Further back is a gorgeous lawn under a loose and arching grid that suspends speakers overhead, giving pitch-perfect sound no matter how far away from the stage you have to sit.

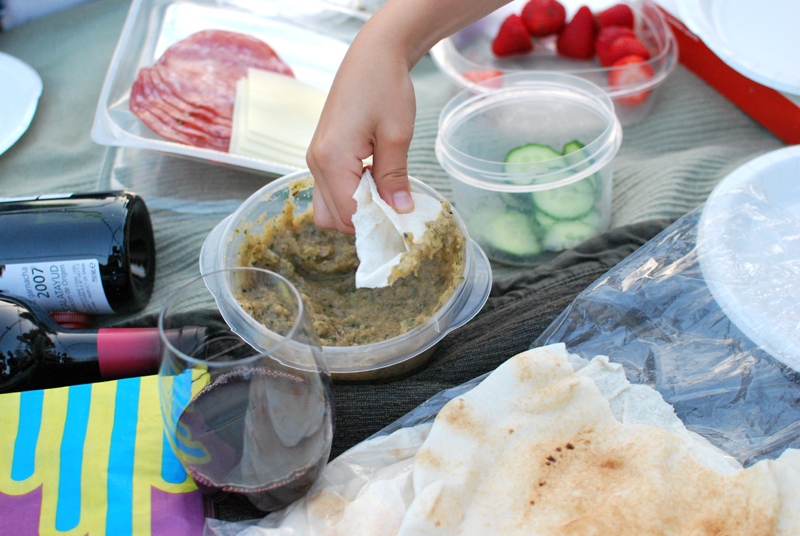
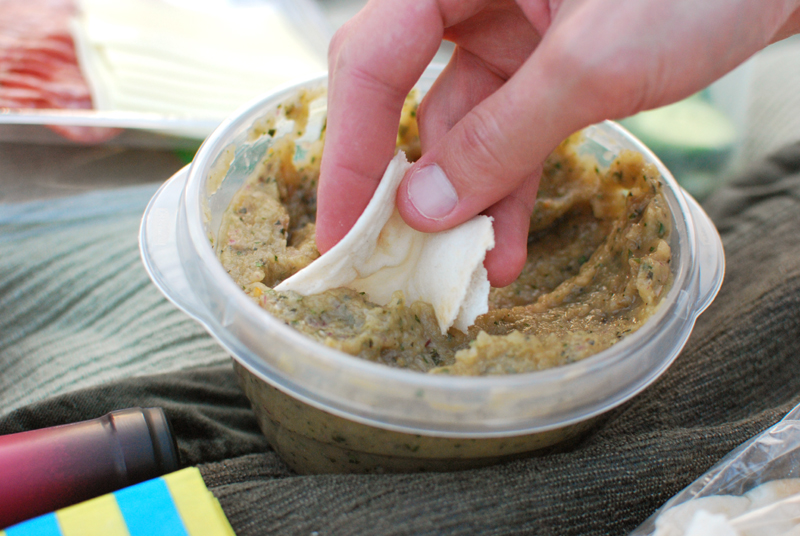
Bring a blanket, bring a crowd, and bring a picnic.  (Did I mention you can bring food and wine?  Well, mostly you can.)  Sit and enjoy one of our breathtaking Chicago Summer nights, looking up at the surrounding skyscrapers.  Watch the sun set.  See the lights flick on and then off in the offices within.  Be grateful you’re not in one.

Recently, a few friends and I decided to get together for an evening of music and food at the Pritzker, as we often do when the weather agrees.  And, faced with the glut of cheap eggplant at the store, I decided it was the perfect opportunity to try out a recipe from one of my best-loved new cookbooks (new to me, anyway), Susan Spicer’s Crescent City Cooking.

Chef Spicer is the mastermind behind my Mom’s favorite restaurant, Bayona; and in a food capital like New Orleans, that’s saying something.  Like the food at her restaurant, the cookbook is filled with uncomplicated and carefully-tuned recipes that make the absolute most of each ingredient.  Nothing is fussy, but everything is good enough to serve to honored guests.  I can’t stop cooking out of it.

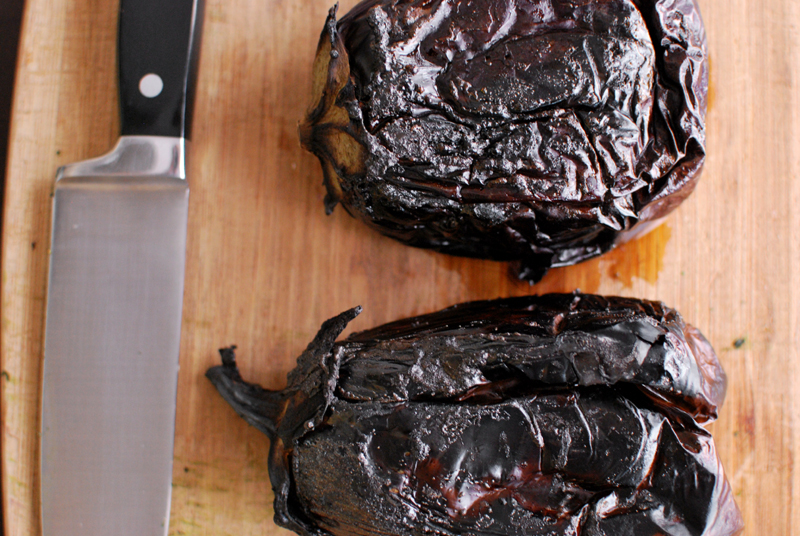
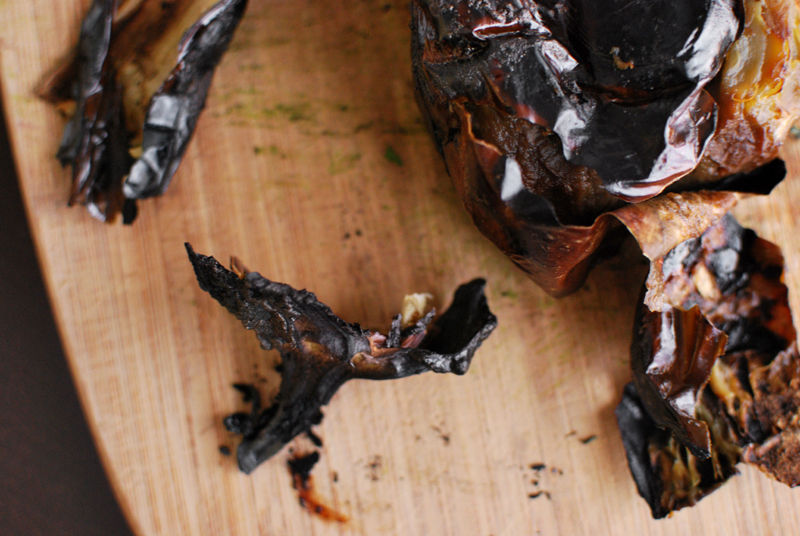
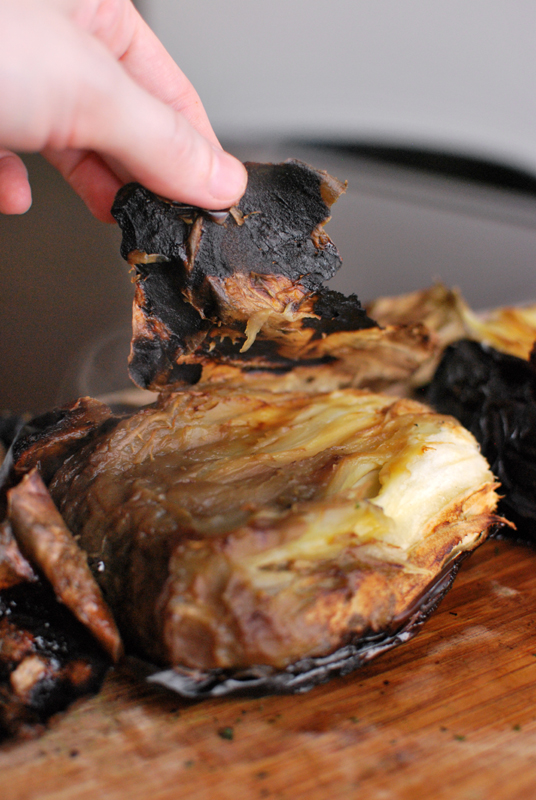
The recipe for Eggplant Caviar caught my eye immediately, mainly because of the accompanying photo of a charred, burnt-paper-skinned eggplant, cut open to reveal a creamy and slumping interior.  I didn’t really care what else it involved, I wanted to scoop up that eggplant and eat it with a spoon.

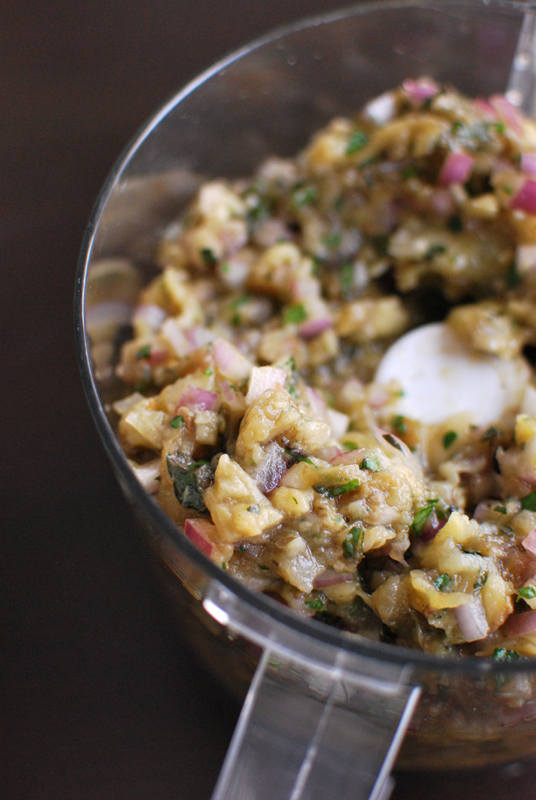
I discovered that the method detailed in the recipe (chop everything by hand) left the dip with bits of red onion that were too large and too abundant for my tastes; they overwhelmed everything else.  Beautiful, yes, but if you are sans food processor, I suggest reducing the amount of onion by up to half.

A quick spin in the food processor to tame the pungency, though, and it was perfect.

Well, nearly perfect.  I do love a smoky eggplant flavor, but I love it even more with some heat to brighten it.  I happened to have some pickled Aurora chilies in the fridge from a previous farmers market experiment, and two of them were just the thing to add the capsaicin I craved.  (I’ve written the recipe to use a more available chili, since I assume no one out there has pickled Aurora chilies sitting around.  If you do, I’m coming over for dinner.)

This is probably one of those recipes that benefits from an overnight rest in the refrigerator, giving the flavors a chance to become acquainted and meld together.  I’m sure it would become positively transcendental.  But I’ll probably never know for sure, since it disappeared completely at the picnic, and I can’t actually imagine having it around for more than a few hours and keeping my hands off the stuff.

As the sun went down behind the city, the changing light transformed the park.  The stage turned into a luminous jewel box, all crimson and gold.

Behind us, the new Modern Wing of the Art Institute hung glowing above the trees.

We finished off the wine and the eggplant and the strawberries and the bread, and we hung around long after the music stopped thrumming from the speakers above.  The moon came out, and the sky dissolved into that perfect, rich indigo.  And we left, and we were grateful.  Let’s do it again next week.

Spicy Eggplant Caviar
Adapted from Crescent City Cooking, by Susan Spicer
Makes about 2 cups

Be sure to not skip the first step, pricking the eggplant with a fork.  If you don’t do this, your eggplant will explode in the oven, and you will have bigger problems than a lack of eggplant caviar.  And don’t be afraid of getting the eggplant too close to the broiler; you want to really char it.  I put mine about 4 inches away from the heat, and the flesh began to slump long before the skin blackened properly.

1 1/2 to 2 pounds eggplant (2 small or 1 large)
1 cup red onion (about 1/2 medium onion, less if chopping by hand)
2 cloves garlic
2 tablespoons chopped fresh basil
1 tablespoon chopped fresh parsley
1 small chili pepper (such as Serrano)
2 to 3 tablespoons olive oil (to taste)
1 tablespoon lemon juice (from 1/2 lemon)
1/4 teaspoon smoked pimentón (Spanish smoked paprika), or cayenne pepper (to taste)
Salt and black pepper (to taste)

1.  Turn the broiler to high, and let preheat for 5 to 10 minutes.  Pierce the eggplant a few times with a fork.  Broil on a rimmed baking sheet very close to the heat until the skin is charred and black, turning about every 5 minutes, cooking 15 to 20 minutes total.  The flesh should feel very soft, and the juices that run out will turn syrupy and thick.  Let cool.

2.  Meanwhile, prepare the other ingredients.  If using a food processor, roughly chop the onion, garlic, basil, parsley, and chili pepper, and place in the bowl of the processor.  If making by hand, chop everything as finely as possible, and place in a large bowl.  Add 2 tablespoons olive oil, and lemon juice.

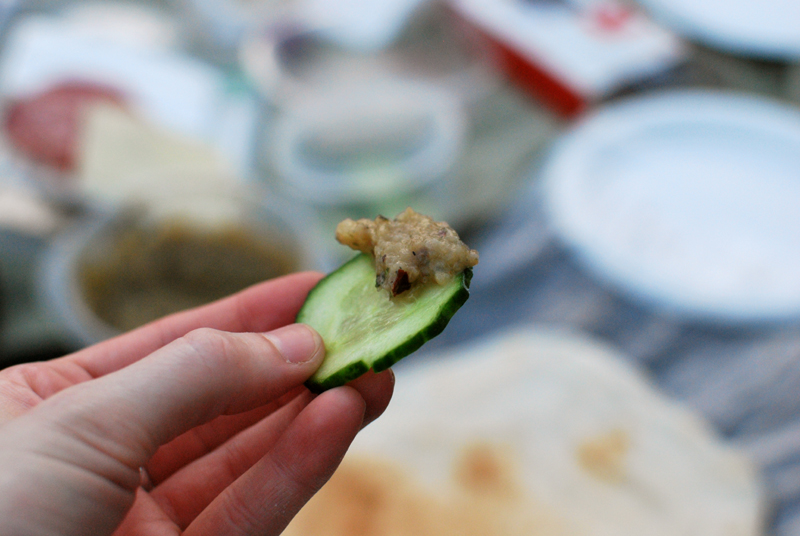
3.  When the eggplant is cool enough to handle, peel the skin away from the flesh.  Cut the eggplant in half, and remove any seeds that are large and easily visible (some seeds are small and not easily distinguishable from the flesh; these will not be so bitter and are okay to leave in).  Roughly chop the flesh, and add to the other prepared ingredients.  Purée in the food processor, or mix by hand.  Season to taste with pimentón, salt, and pepper, and add extra olive oil if desired.  Serve warm or at room temperature, with pita bread or toasted baguette slices.

Summer Cocktail: Back Porch Spice

This was the weather yesterday.

Yes, I live in Chicago.

We have “beaches” here, next to Lake Michigan, and there just so happens to be one at the end of my street.  Sometimes the lake looks murky and brown, but sometimes it looks blue as the Caribbean.  Yesterday was one of the latter, and the weather was beyond perfect.

Everyone was out in it.

It was a day for cooking outdoors…

for flying kites…

for building sand castles….

for bringing the hammock to the park…

for buying ice cream from the Monarca lady ringing her bells up and down the path…

and for generally enjoying the gorgeous place we live in.

But not, apparently, good for swimming.  (According to these signs, at least.)

evil fish are there
and evil germs, too

Faced with all this gorgeousness, like any self-respecting person, I decided it was the perfect day for a cocktail.

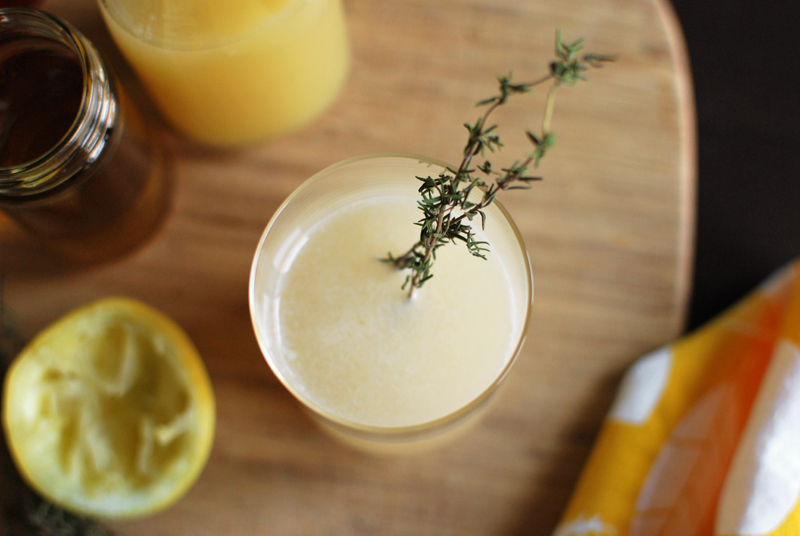
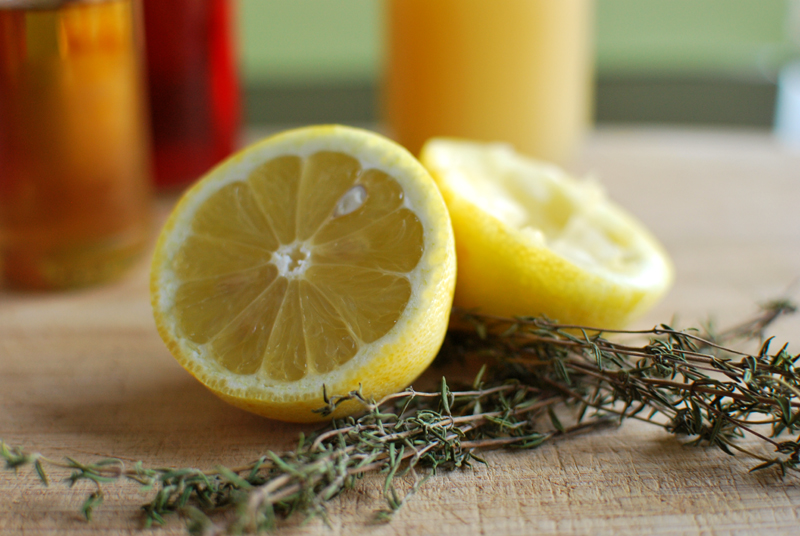
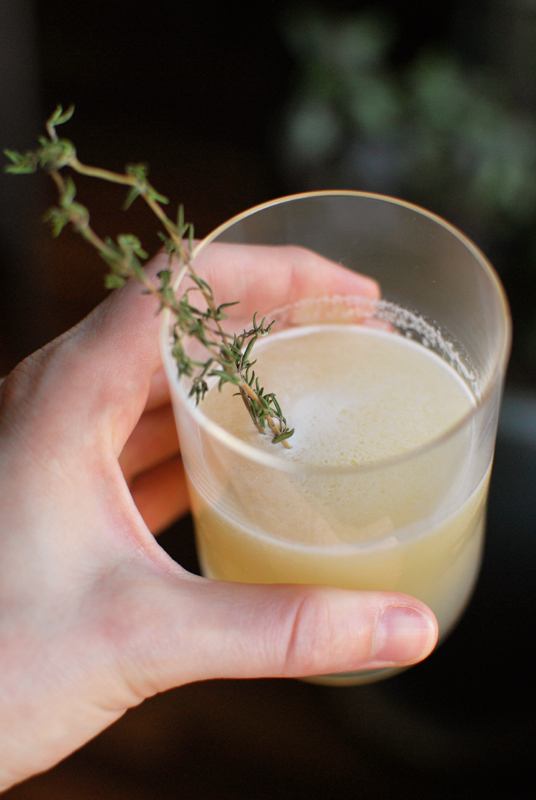
One of my all-time favorite flavor combinations is lemon and thyme; and it seems to go especially well with summer cocktails.  I am a confirmed Bourbon girl for the most part (as you may have noticed), but on hot, sunny days like this one, nothing quite hits the spot like a well-made gin cocktail.

This is a recipe I devised for a recent event, inspired by two separate cocktails: one, called “Spice“, by Ryan Magarian, and the other called a “Back Porch Swing”, from Jeff Hollinger and Rob Schwartz’s amazing book, “The Art of the Bar“.

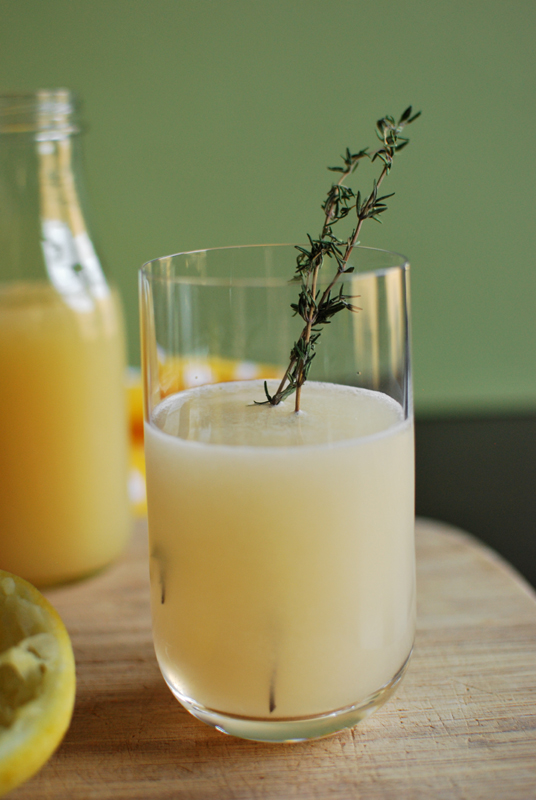
The overall effect is indeed like a dry riesling; sweet and tart are both in perfect balance, with enough depth of flavor to beguile, but not overwhelm.  It’s cool and crisp, and exactly what I want to drink when the sky is a blue as a turquoise.

cranberry juice, thyme simple syrup, pear nectar

I love the combination of the thyme simple syrup with the honeyed tones of the pear nectar, both offset with the bright sourness of lemon juice, and the slightest tang and pink hue from the splash of cranberry juice.

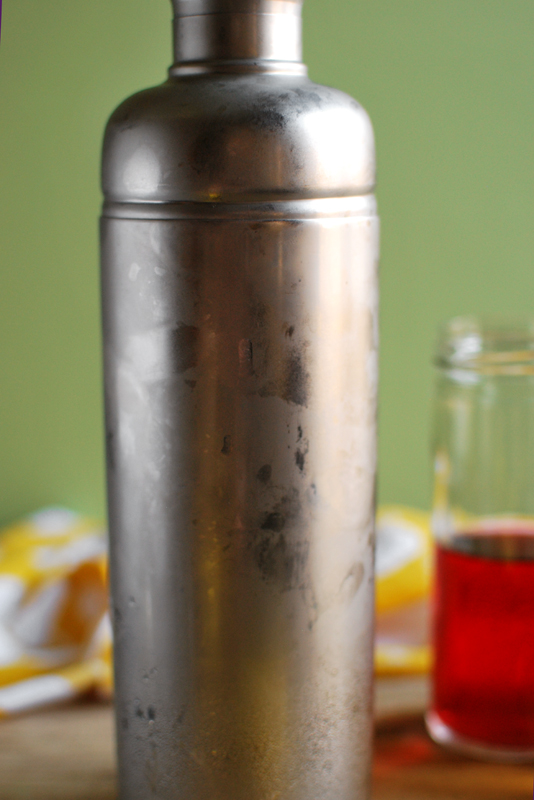
shake it so hard that your hands freeze

My gin of choice here is a newcomer to the market, called Broker’s, an inexpensive and mild – but intriguingly spiced – gin.  I did try it with my house favorite, Hendrick’s, but found it a bit too harsh.  Use whatever your favorite mixing gin happens to be.

One caveat for mixing cocktails: proportion is crucial.  When cooking most dishes, one is able to fudge a teaspoon here or there; but in cocktails, if the balance is off by more than a mote, the entire nature of the drink changes.  I have a favorite measuring shot glass, with measurements delineated at 1/4, 1/3, 1/2, 2/3, and 1 jigger.  When in doubt, use tablespoons, and be precise.

i use this so often

Having said that, if you’re mixing cocktails in batches (which this drink lends itself to quite well), the proportions can be fudged a bit more than if mixing just one or two at a time.  I’m giving directions for each below; use whichever fits your needs best.

A word of warning, however: don’t be surprised if you end up making a large batch of the mixer for yourself, to keep in your fridge for summer cocktail emergencies.

Back Porch Spice

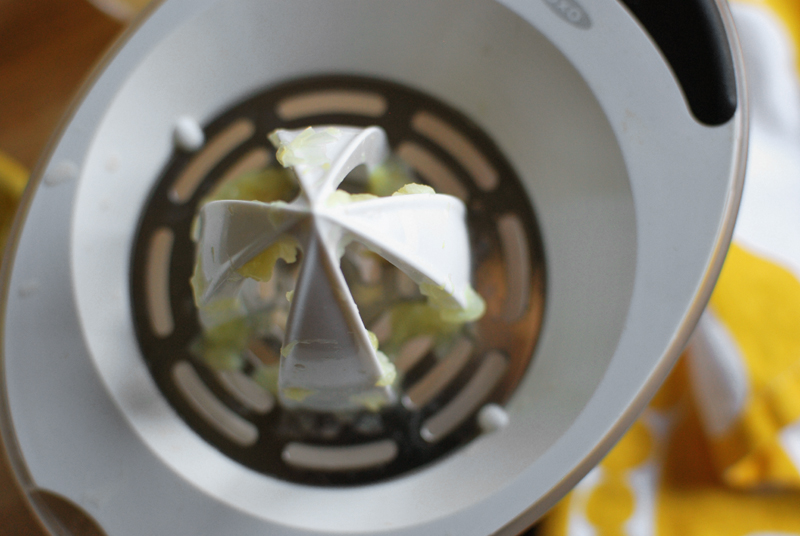
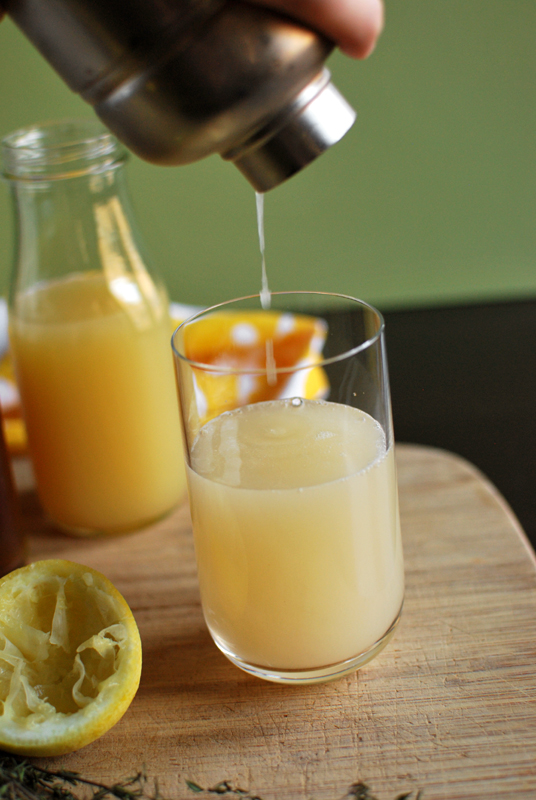
The standard rule for mixing cocktails is that if fruit juice is included, it must be shaken.  So it is written here.

1 part thyme simple syrup (recipe below)
1 part freshly-squeezed lemon juice
2 parts pear nectar (such as Looza or Hero brand)
4 parts gin
1 splash cranberry juice
Thyme sprigs for garnish (optional)

1.  In a cocktail shaker, combine all ingredients.  Add ice, and shake hard until shaker is frosted over.  Strain into a glass.  Garnish with thyme sprigs, if desired.

Back Porch Spice For a Crowd

The standard rule for mixing cocktails is that if fruit juice is included, it must be shaken.  So it is written above.  When mixing cocktails for a crowd, however, it is far easier to simply direct guests to stir the mixture over ice.  After one or two, even the most dogmatic won’t mind one bit.

1 cup thyme simple syrup (recipe below)
1 cup freshly-squeezed lemon juice (from 4 or 5 lemons)
2 cups pear nectar (such as Looza or Hero brand)
1/4 cup cranberry juice (or just enough to color the mix a lovely shade of pink)
Gin, as needed

1.  In a decorative bottle, combine thyme simple syrup, lemon juice, pear nectar, and cranberry juice.  Shake gently to mix.

2.  Set bottle of mix out next to bottle of gin, with the following instructions:  Combine 1 part mix with 1 part gin, over ice.  Stir well, and enjoy.

Thyme Simple Syrup
Makes about 1 cup

1 cup cold water (filtered, if possible)
3/4 cup (heaped) white granulated sugar
3 to 4 sprigs thyme

1.  In a small saucepan, combine water and sugar.  Over medium-high heat, stir just until sugar is dissolved.  Add thyme, and reduce heat to medium-low.  Simmer 5 to 10 minutes.

2.  Remove from heat, cover, and let cool at least 30 minutes and up to overnight.  Strain, and refrigerate.  Syrup will keep indefinitely under refrigeration.


My Old Kentucky Bourbon Trail: Part II

(This is a two-part post.  For part one, click here.)

If there are two things Kentucky is known for, it’s Bourbon and horses; and they sure know what they’re doing with both.  After leaving the Maker’s Mark distillery (as described in Part I), we decided to stop in at famed Churchill Downs, where the Kentucky Derby is held each year.

It was an impromptu suggestion, and to my lasting shame, I didn’t even know if the horses would be running then or not.  Luckily for us, we were able to catch the last two races of the day.

To say the day was hot would be an understatement.  And by “understatement”, I mean “damned lie”.  The temperature was pushing 100º, and the humidity was nothing to sniff at either.  And there we were, after having spent all day wandering around in it, eating giant omelets and drinking Bourbon.  I, for one, could hardly tell left from right.  How those horses were able to run is beyond me.

At Churchill Downs, there’s no admission fee, aside from the few dollars they charge for parking.  You can just wander in and watch the races from wherever you please.  (Obviously, the Derby is a special occasion, and such rules do not apply.)  We found seats right in front of the finish line.  For the Derby, I think these seats go for about one billion dollars.

We placed a friendly bet or two, but didn’t win anything.  I think there may be more to the art of horse-wagering than picking based on the name you like best.  After the race, they cooled the horses by drenching them with buckets of water.

Some of the horses were special enough to have men in suits dump water on them.

A short walk helps keep their post-race muscles from cramping.

The next morning, it was off to Woodford Reserve for our final distillery tour of the weekend.  Woodford is less than an hour East of Louisville, close to Lexington.  There are loads of horse farms in that area, easily identified due to their impeccably-painted wooden fences with rounded corners (so the horses don’t hurt themselves on anything sharp).  If you go in the Spring, avoid the interstate and take Highway 60 to Lexington for the most scenic view of all the new-born foals.

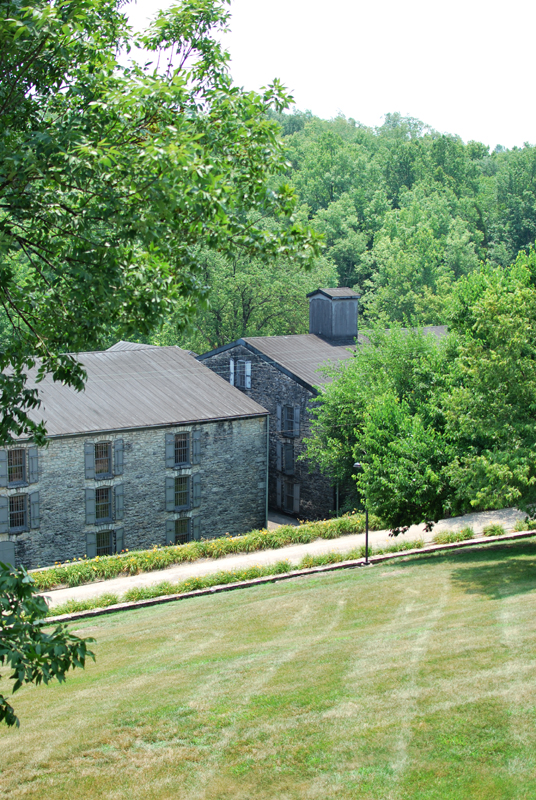
Woodford has the best-kept grounds of all three distilleries we went to.  The area feels polished, to be sure, but it’s not overdone.  Having been on this tour before, I knew to expect a refined (if touristy) experience, and I was not disappointed.  There is a shuttle van to take you down this hill, but you can take the stairs instead.  You will beat the van by a lot.

Even though the buildings look like jails, they are not very menacing.  The bars are there to keep people out, and barrels full of aging Bourbon in.

While our guide began his tour, a cat wandered up.  Of course, no one can resist a Bourbon kitty.  He stopped the tour dead.

He didn’t seem to mind, though.  I think this is his job.

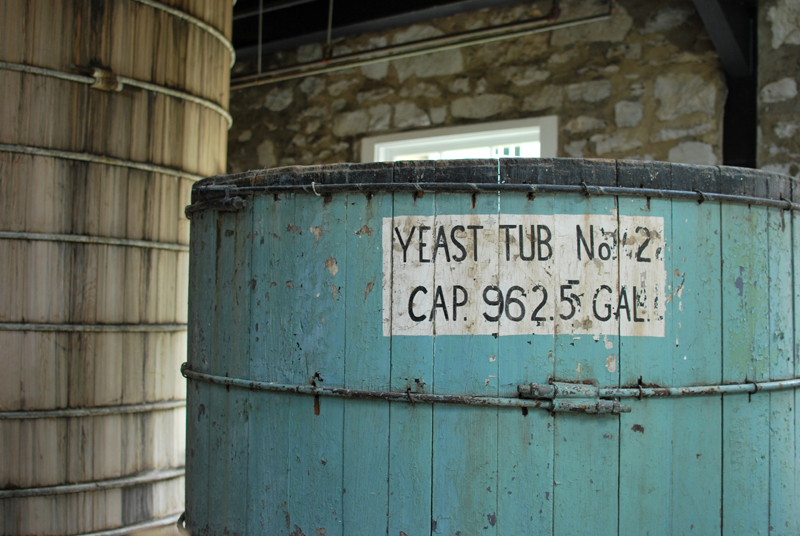
Inside, the buildings were surprisingly airy and light.  I love these colors and the hand-lettering.

This is the outside of one of the cypress fermenting tanks.  There are stairs nearby to a second floor, where you can look into it from the top.

This is the top of a fermenting tank, filled with bubbling corn mash.  Once you’ve seen one, you’ve seen them all.

I’d never seen an empty one before.  This is what they look like on the inside.  I think the coils are to help regulate temperature, by running hot or cold water through the pipes, but I could be mistaken.

There were six of these giant tanks in this area.  I wonder how long they use them before they have to replace the wood, and if I can have the wood when they’re done with it.

They fill the tanks from long pipes that swivel out over the tops.

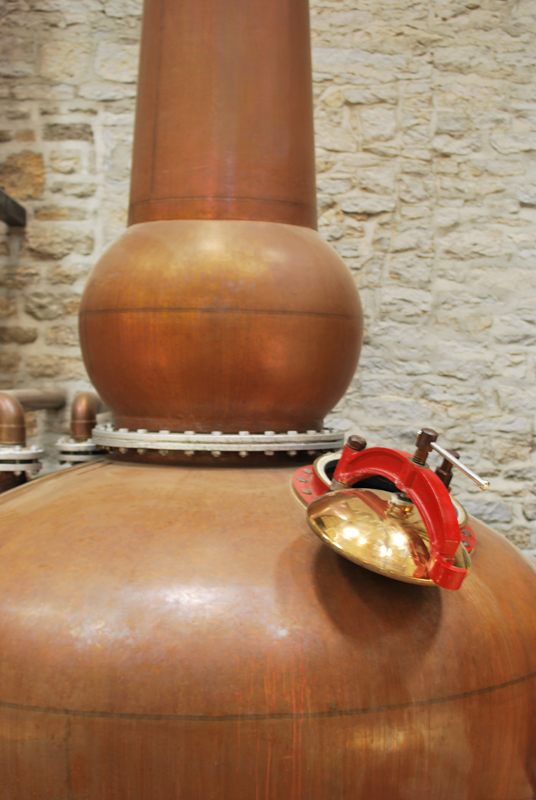
In the distilling area, there are three huge copper stills imported from Scotland.

Inside the still is a mysterious fan.  Nobody knows why it is there.

The distilling area is like a cathedral, with incredibly tall ceilings, stone arches, a balcony in back, even a raised dais in front to showcase the distilling process.  The details are beautiful.

Down a few stairs, in the same building, new barrels fresh from the cooperage are stored out of the way.

They look a little too clean.

Some of the old barrels get turned into a decorative wall.  There is a good brew pub here in Chicago that has a similar treatment around their bar.  Since the brew pub came second, I think we know where they got the idea.  Makers of Bourbon-barrel-aged beers are crying a little at this sight.

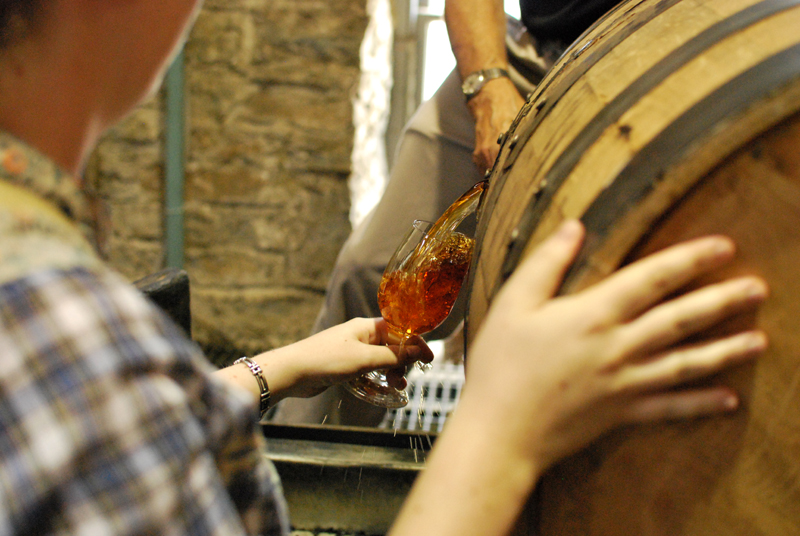
In the bottling area, our guide poured a glass of cask-strength Woodford into a glass held by a very lucky member of the tour.

He poured out most of this glass, to the group’s chagrin.  There was an audible and involuntary gasp from every throat.  The glass did get passed around for everyone to smell, as a taunt.  Afterwards, while most everyone else’s backs were turned, this tiny bit was unceremoniously tossed onto the ground.  I may have wept a single tear.

Back at the visitors’ center, the traditional Bourbon balls were passed out.  Woodford has the best of any distillery I’ve been to.  They are still not as good as the ones my Old Kentucky Grandmother makes.

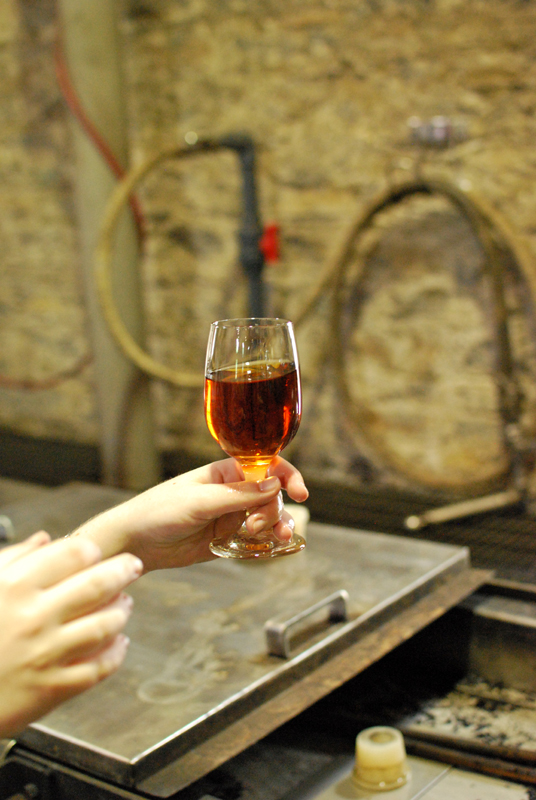
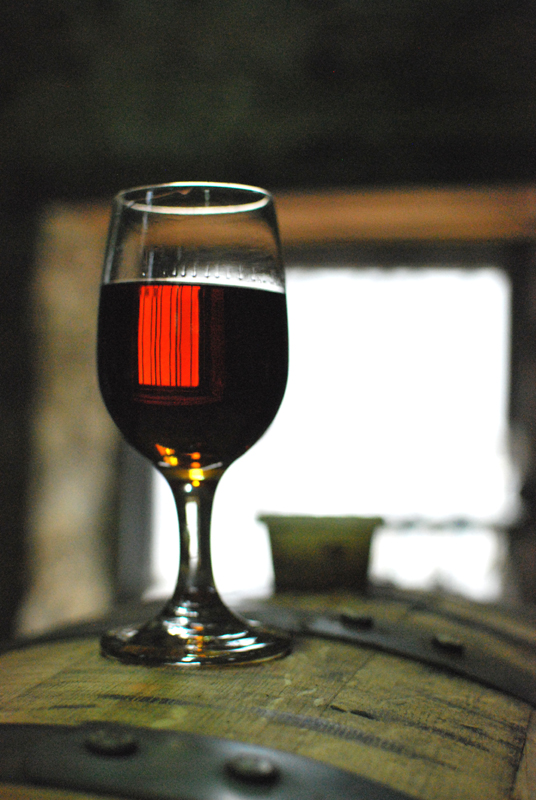
And with that, we bid au revoir to Kentucky, and set out for Chicago and home, back to our city lives.  I can’t speak for everyone else on the trip, but that weekend certainly did me a world of good.  A little time to relax over good food with good friends, and sit with a slowly condensing glass of amber-gold Bourbon on chattering rocks… what else could you want?  Luckily, thanks to liquor stores and distributors, you can enjoy most of this in your own living room; I highly recommend trying it.

Thank you for letting me take you on this little journey.  And now, back to our regularly scheduled programs.

My Old Kentucky Bourbon Trail: Part I

This two-part post is a slight departure, as there are no recipes, but it does involve Things Culinary.  I thought you might like to read about it and see some pictures.

As I’ve mentioned before, I lived in Louisville for a few years.  My time there was full of good food, great Bourbon, and some of the grandest people I’ve ever met.  So when a couple of dear friends here in Chicago asked if we would be interested in traipsing a bit of the Kentucky Bourbon Trail with them, I leaped at the chance.  A weekend in one of my favorite cities, filled with Bourbon, food, and friends?  Yes, please.

The planned itinerary included two days touring three Bourbon houses, strategically chosen for their proximity to one another and driving distance from Louisville, as well as by virtue of their product quality… and the fact that they give free samples and are open on Sundays.  You know, the important things.

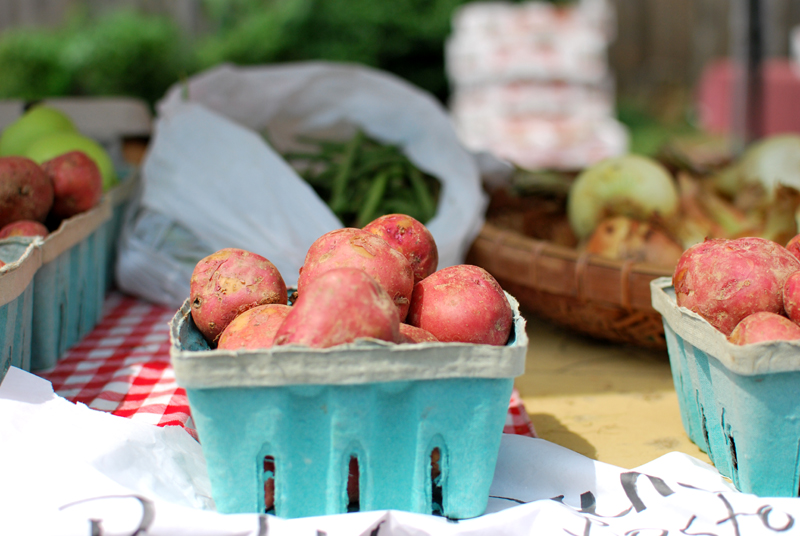
Saturday morning started off bright and (reasonably) early with a stop at the Bardstown Road Farmers Market, just around the corner from my old apartment.  If there’s one thing Louisvillians love, it’s keeping things local; and there’s hardly a better or more popular brunch than the omelet stand at this market.  Sure, you can peruse the market, take home as much fresh produce as you can carry, and cook your own; but if you’re doing Louisville right, you’re in no shape to cook anything on a Saturday morning.

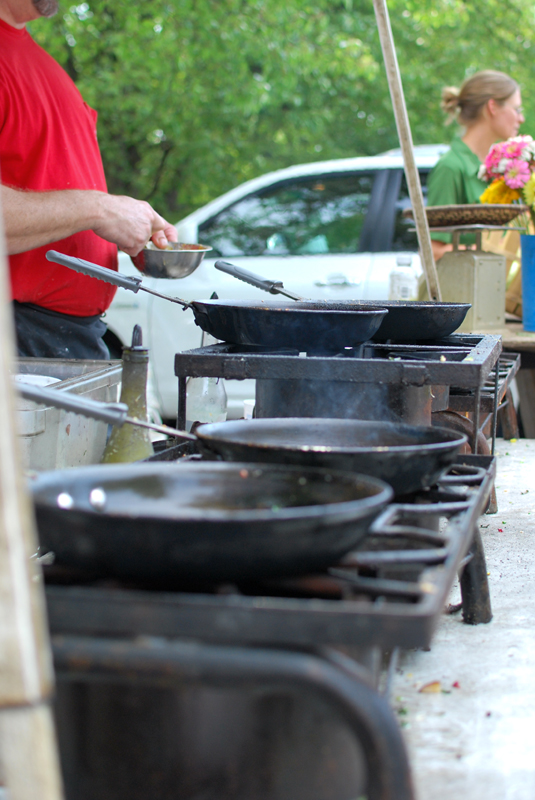
As long as I’ve known about this particular stand, the same guys have been braving the rigors of cooking omelet after omelet for a never-ending phalanx of hungry locals, through the stifling humidity of Louisville summers.  Behind their open-flame burners, the wall of heat they face unflaggingly would make Lucifer himself blanch.  I’ve no clue how they stand it; just waiting in the inevitably long line makes even me wilt.

When you get to the front of the line, they ask what you want, but I’ve never seen the point in special orders here.  All the ingredients they use come from their own farm (right smack in the middle of the city) and from other local farmers, and they’re all delicious.  Just tell them how many omelets you want; they’re experienced enough to make you something great.

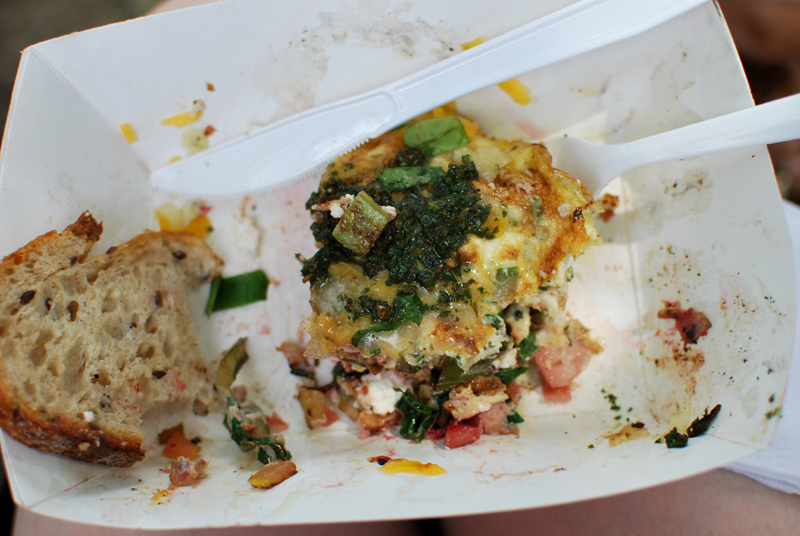
The selection varies from week to week; this week’s omelets featured beets, summer squash, chopped herbs, Capriole goat cheese, Kenny’s cheddar cheese, smoked catfish, and the always delightful slice of Blue Dog bread hidden underneath.  Eaten on the only available benches (aka parking bollards), it was an ideal antidote to the previous evening’s cocktails (to set the weekend theme, of course), and the fuel we needed to power through the long day ahead of driving and tasting.

Our first stop was the Bourbon Heritage Center, run by Heaven Hill Distilleries.  This isn’t an actual distillery tour, as they distill their liquor elsewhere, but rather a tour of the aging warehouses and a fairly thorough explanation of the Bourbon-making process.

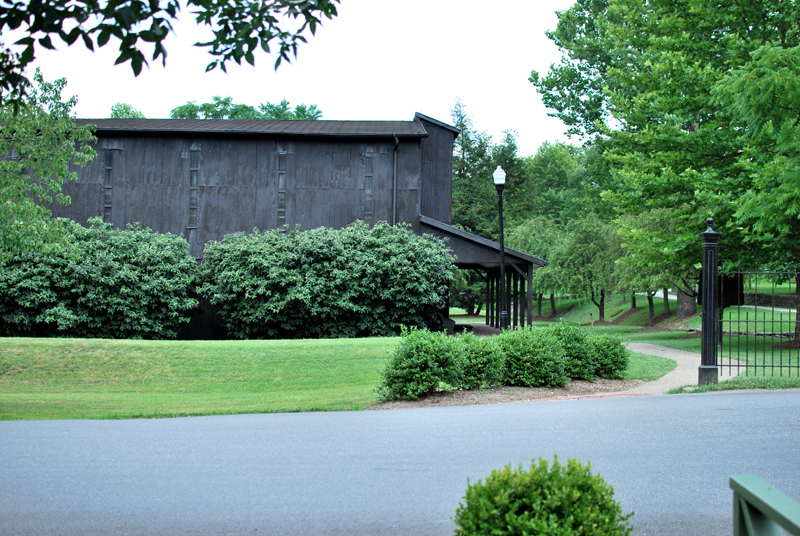
The warehouses stand in a clearing surrounded by cornfields, and are truly monolithic things.  They’re white and stark, except for where black mold creeps up the sides, living off the water that evaporates from the thousands of barrels inside.  It’s a little ominous, but if a breeze hits just right, the air smells sweetly of fermenting corn.

You would actually have to be some kind of idiot to smoke around these buildings; the alcohol hangs heavier in the air than the humidity.

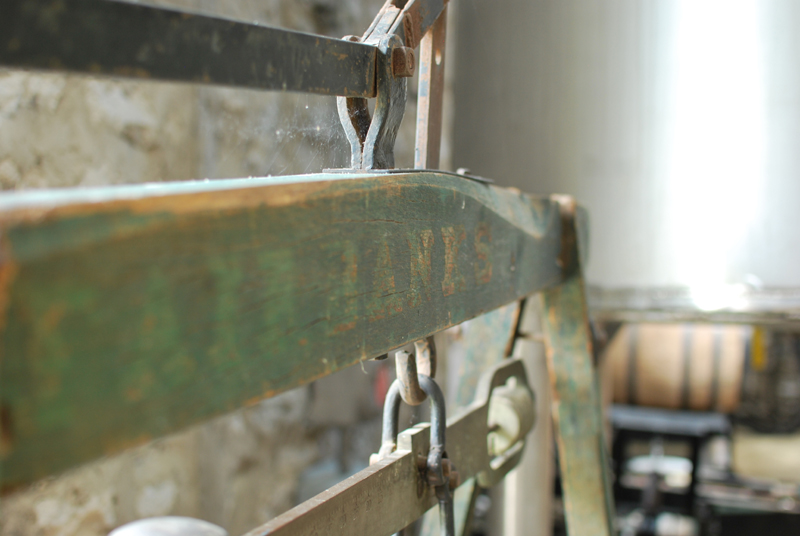
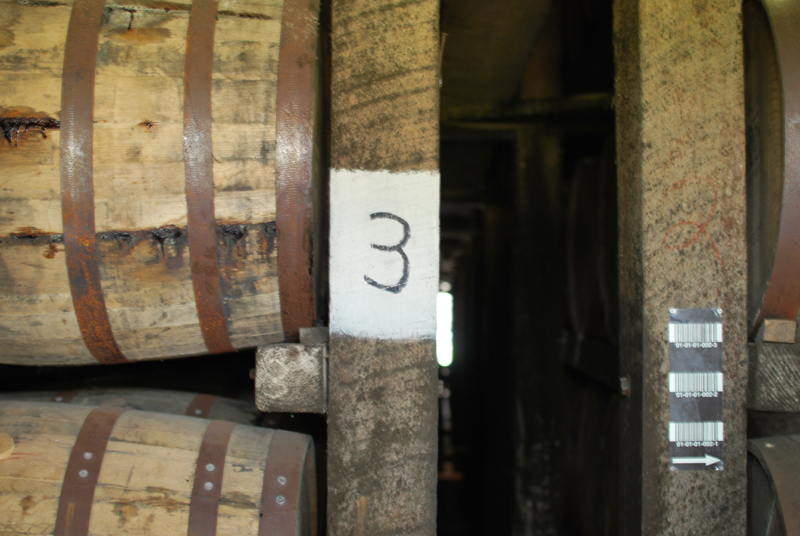
Inside the warehouses, there is a blend of old-style and new-style inventory tracking methods.

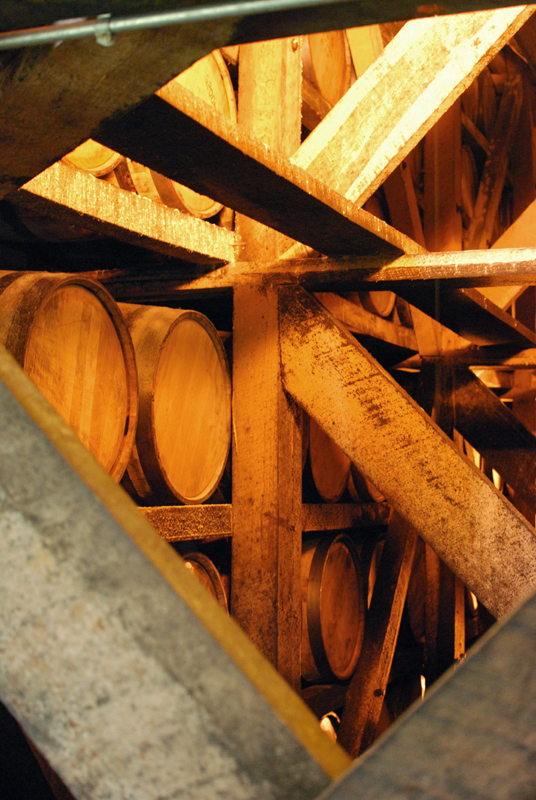
The bracing in the warehouses is crucial; with so many barrels (50,000 I think per warehouse, though my recollection could be off), if they remove too many from one side, the weight shift can make the entire thing collapse, as happened to one warehouse several years ago.

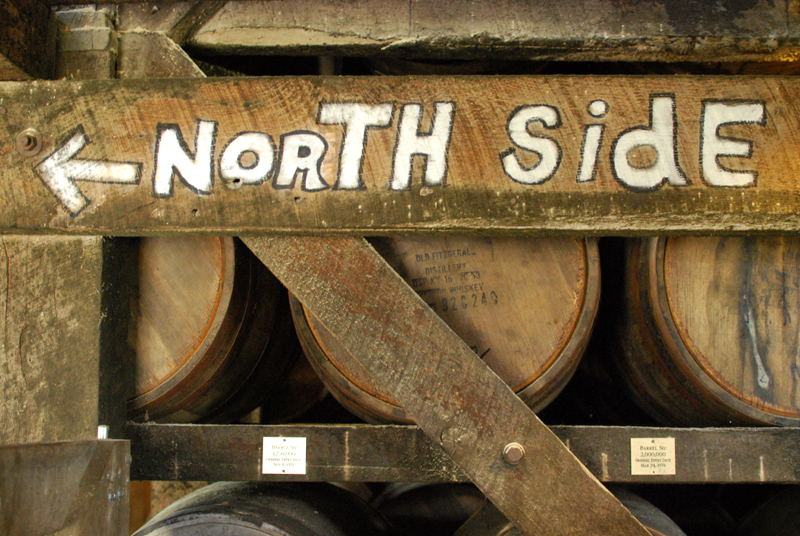
I love all the hand-painted signs.

Each barrel is numbered.  Milestone barrels, such as this 3,000,000th barrel, get a special place in the warehouse.  This one is so old, it is most likely less than half full, due to the “angel’s share” that evaporates out.

The main Bourbon brands at Heaven Hill, Elijah Craig and Evan Williams, aren’t my favorites, but it’s always nice to try different things.

Next on the agenda was a trip down the road (just make sure you pick the right road) to Maker’s Mark.  This is our usual house Bourbon, so you won’t hear any complaints from me about the quality of the drink itself; but the tour felt a bit Disneyland to me.  Apparently, they were recently bought by Jim Beam, which makes me a little sad.

The setting is bucolic as all get out, but things feel just a touch too polished.  I do love the colors, though.  There are cheesy little cut-outs of the Maker’s Mark bottle in each shutter.

Around the corner, though, there are bigger warehouses.  I guess they put them around the back to not spoil the whole “pastoral country home” shtick they’re got going.

Turns out they really do manufacture things here; the pallets on the loading dock are a dead giveaway.

Inside the distilling area, it was about one million degrees.  The area is full of things that are only slightly menacing.

lots of important lights
a tiny door in the wall for no reason

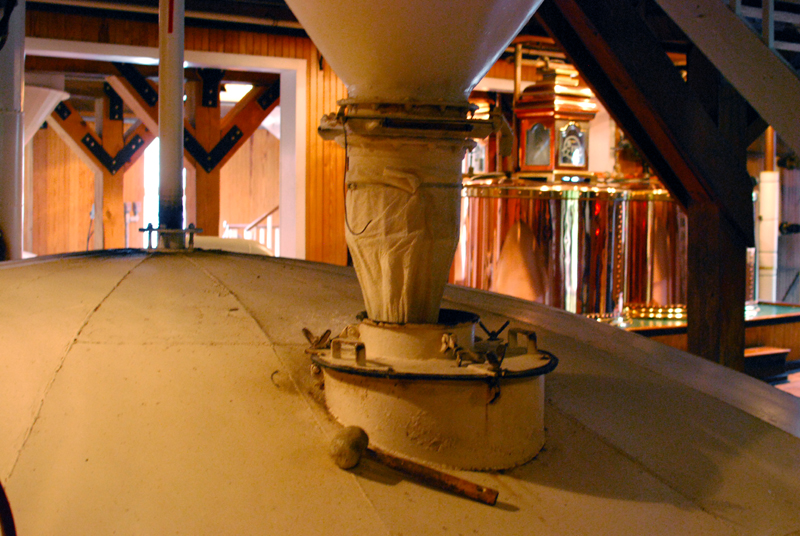
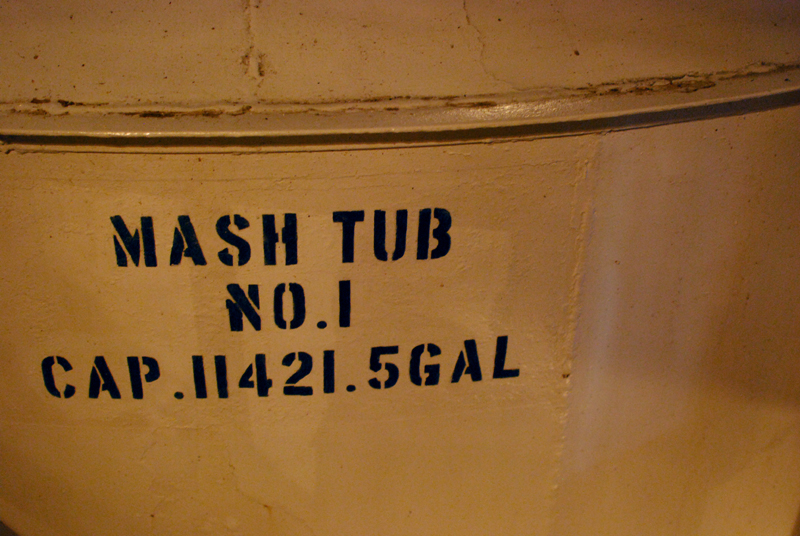
This is a mash tub, in which they cook the grain mixture that makes Bourbon, when fermented.  The tanks are immense, and go through the floor into another story below.

Each one holds many, many gallons.

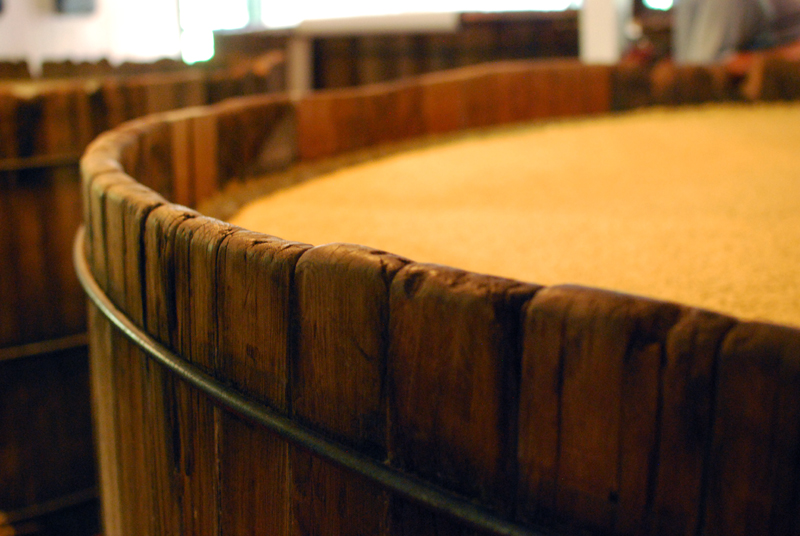
Six huge fermenting tanks are in the next room, and all are full with a thick and bubbling mixture of fermenting grains.  The cypress wood is smooth with age and thousands of tourists’ hands.

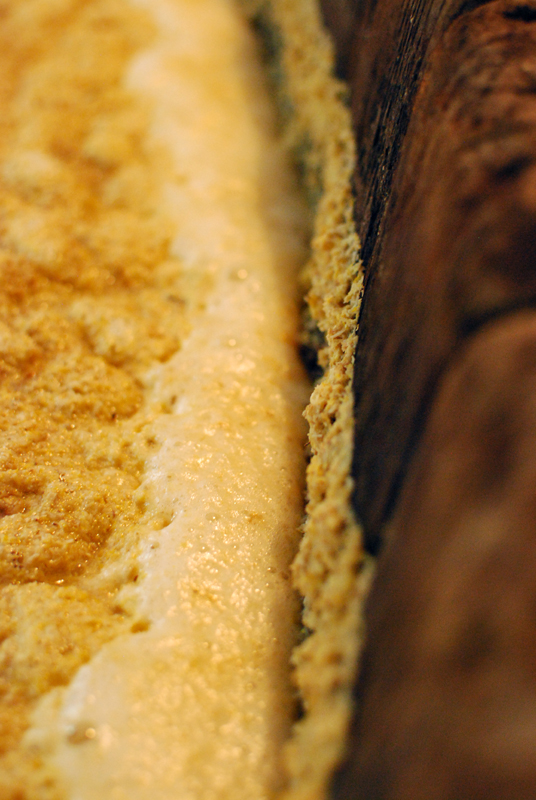
Fermenting yeast makes a roiling foam along the edges.  The tanks are totally open; you can lean over and look right in, even stick your finger in to taste the mash if you like.  I wonder how many lost sunglasses they pull out of these tanks every year.

It still looks a little spooky sometimes.

In the aging warehouse, there are elevators; but only for moving barrels.

Maker’s Mark has an “Ambassadors” program, which allows you to fill out a form online and get your name on the end of a barrel.  When the barrel is mature, you have the option to buy a bottle from your shared barrel.  Thousands of visitors see these barrels every day, so you should find a more creative name than “HHHHHHHHH” or “FOXY-BLONDE”.

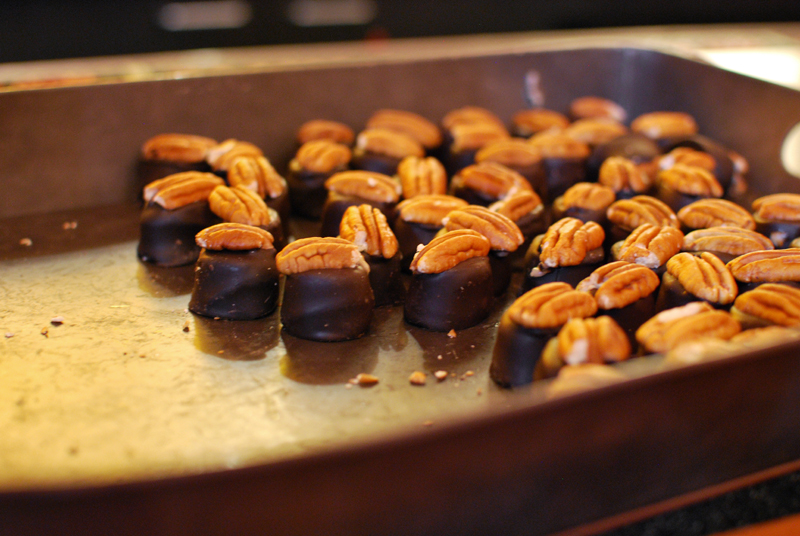
At the end of every tour, you are offered a sweet called a Bourbon Ball.  The center is very sweet and slightly soft, and flavored with Bourbon.  The mixture is dipped in chocolate, and usually topped with a pecan.  Nearly every distillery offers them, made with their own particular Bourbon, of course.  They’re never as good as homemade ones.

Stay tuned for Part 2, In Which Bourbon Is Tasted.  Exciting!